craft is in Session

Mother's Day/Teachers Appreciation hand-crafted card for kids to make with Colored Sand

Mothers_Day gift idea for kids

It's that time of year again- the time to show appreciation for moms, teachers, or anyone you want to tell "You're the best." One of the best ways to show appreciation is a handmade card. This CIY craft allows you to imagine whatever designs, patterns, and colors you want! We've included templates to help get you started in thanking your teacher or telling your mom what she means to you.

Supplies:

- Crayola Play Sand
- Paper (cardstock is best for this CIY craft)
- Printed template 
- Markers (for decoration)
- Colored Popsicle sticks (for decoration)
- Paint brushes
- Mod Podge glue or other craft glue
- Spoon


  1. Download and print the template you'd like to use

Stencils Collection - Free Download


2. Apply glue using paint brush

Teachers gift craft idea
MD_2.jpg

3. Quickly sprinkle Crayola Play Sand over glue, one color at a time, making sure to allow time to dry between different colors

Mothers Day Craft for kids
teachers thank you card craft idea for kids

4. Repeat painting with glue and sprinkling sand, color by color, until the design is filled in

Mothers Day Craft ideas for kids
Teachers DIY homemade card

5. After the card is dry, fold if needed, and write a message using markers or decorate with colored Popsicle sticks 

Mothers Day gift ideas for kids
Teachers appreciation hand-crafted card for kids to make
Mothers day craft idea for kids
Thank you cards for kids to make with sand
Mothers Day Teachers craft ideas for kids

Make Candy-filled Easter Eggs using Crayola Play Sand!

Easter 2018 blog cover.jpg

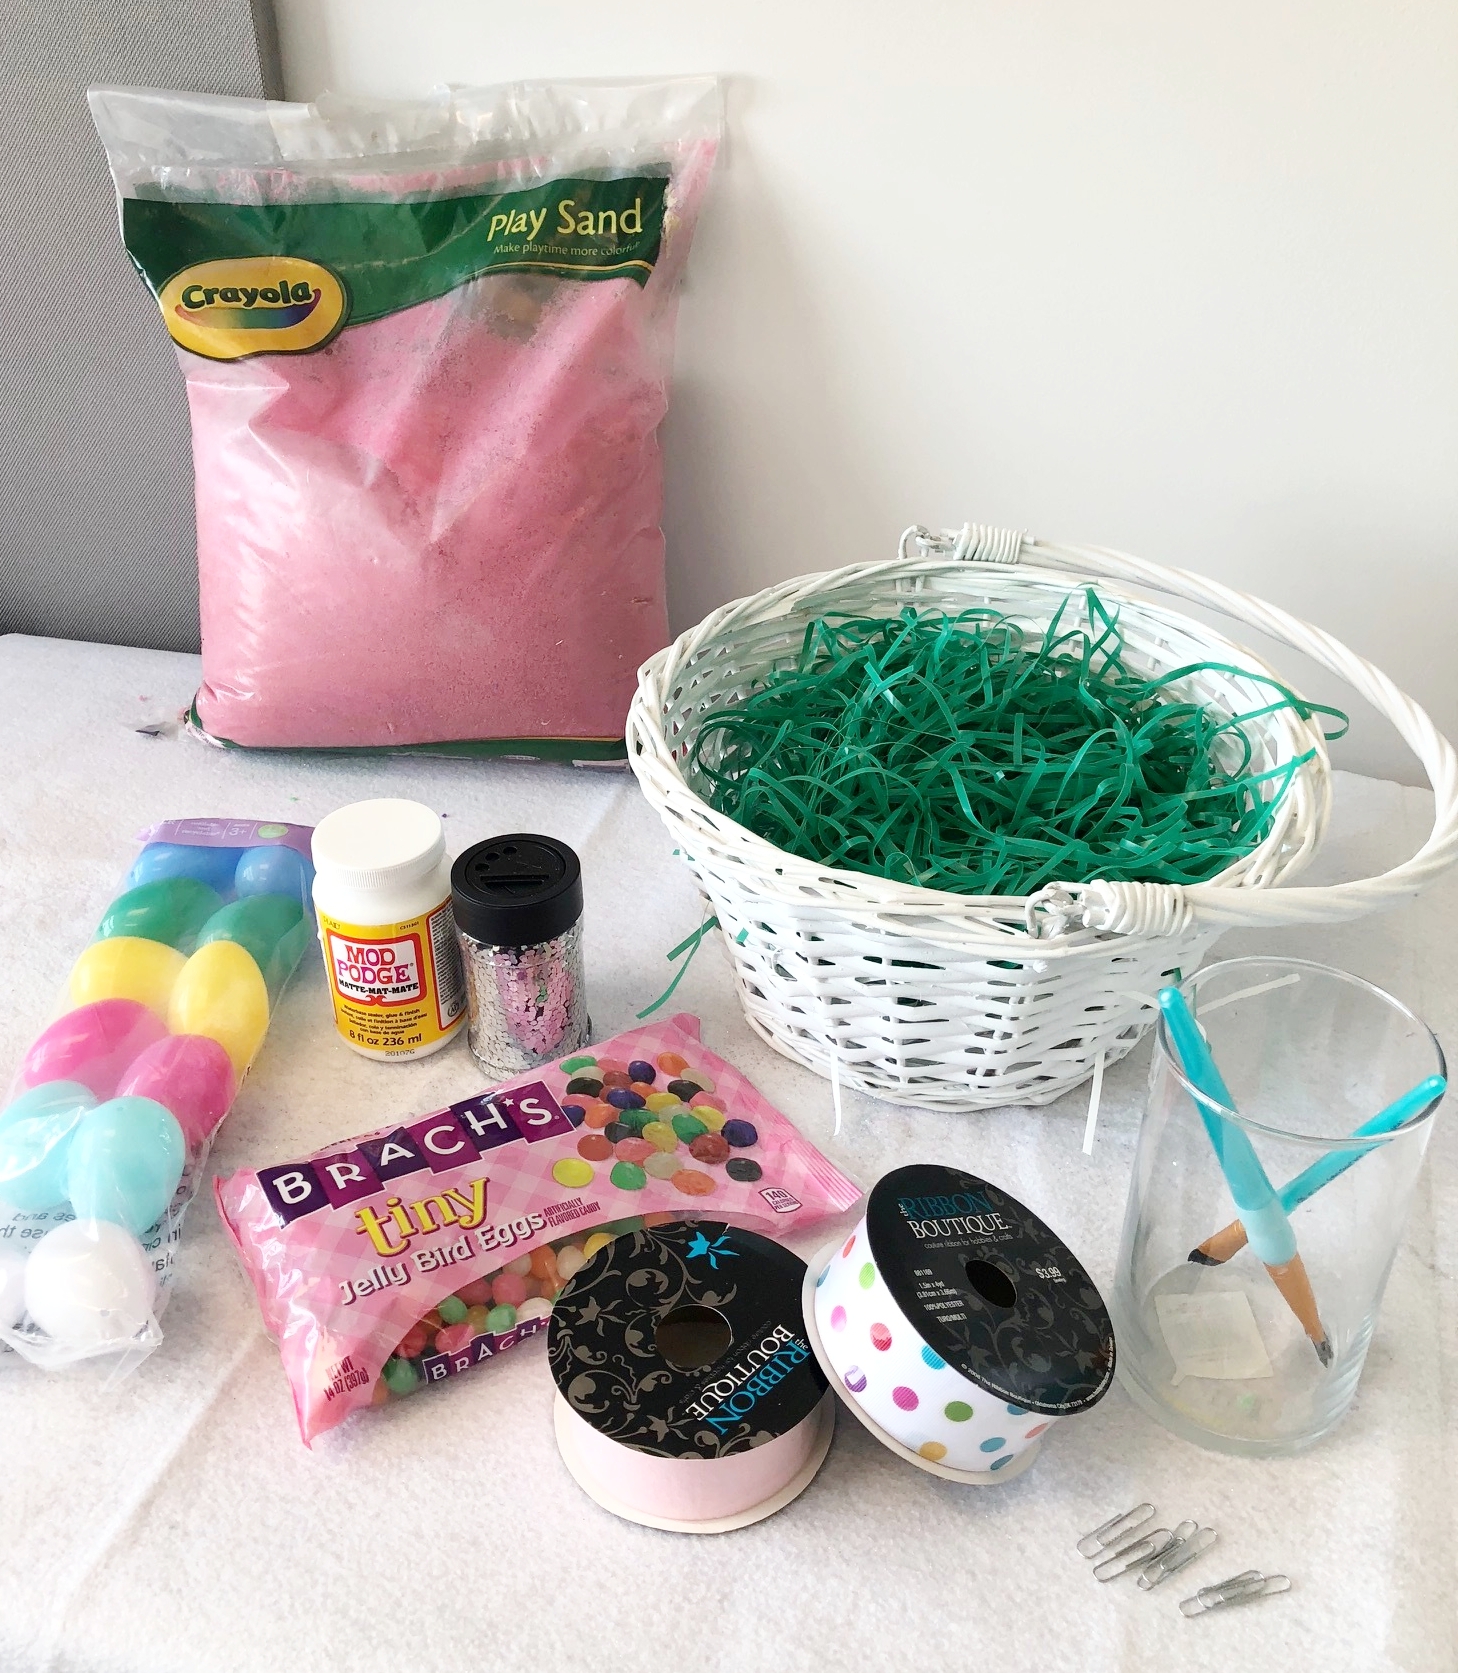
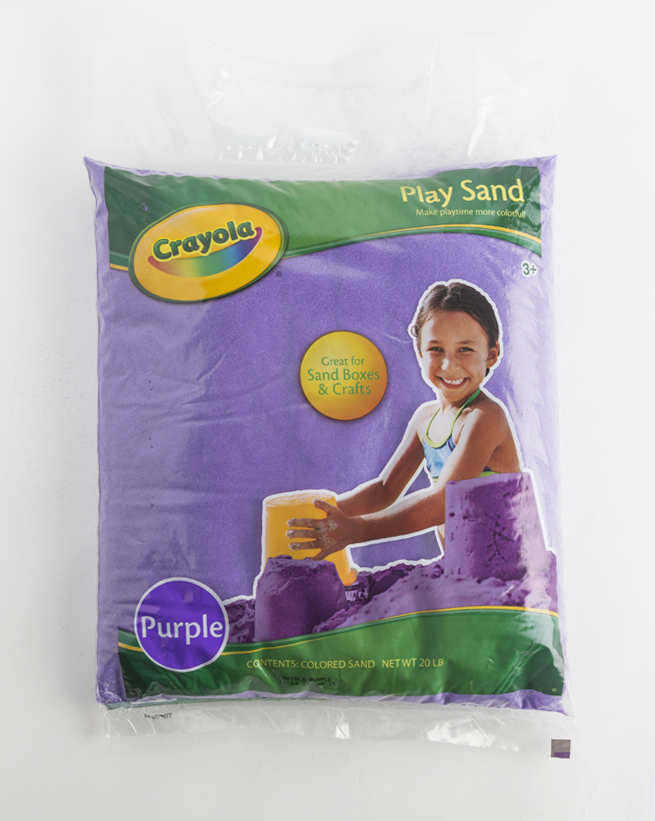
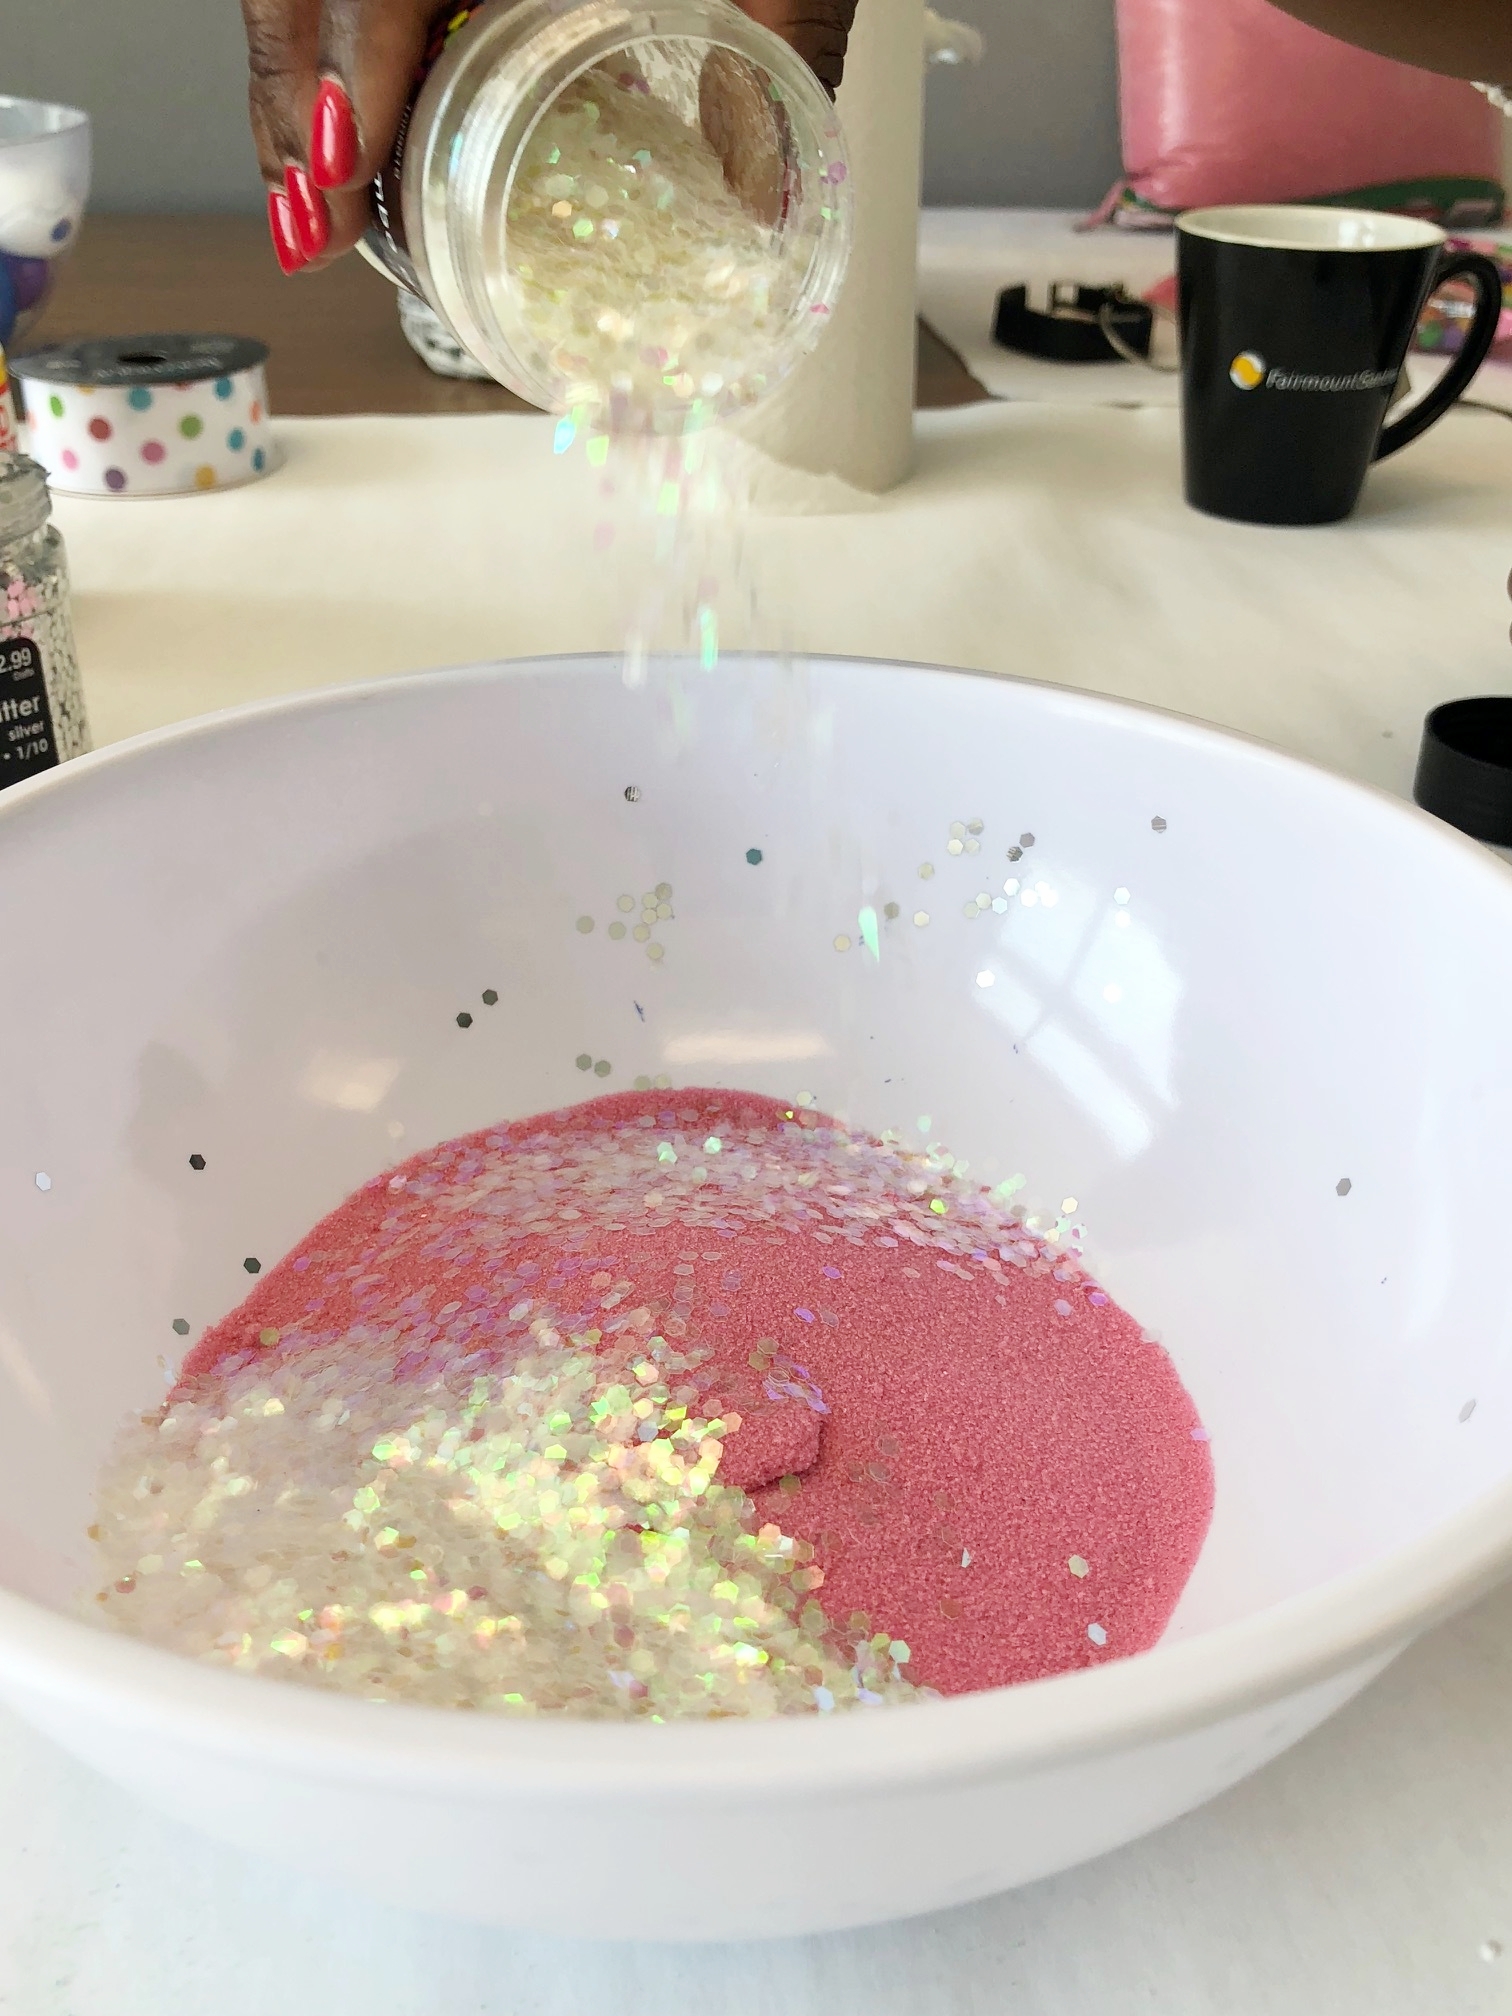
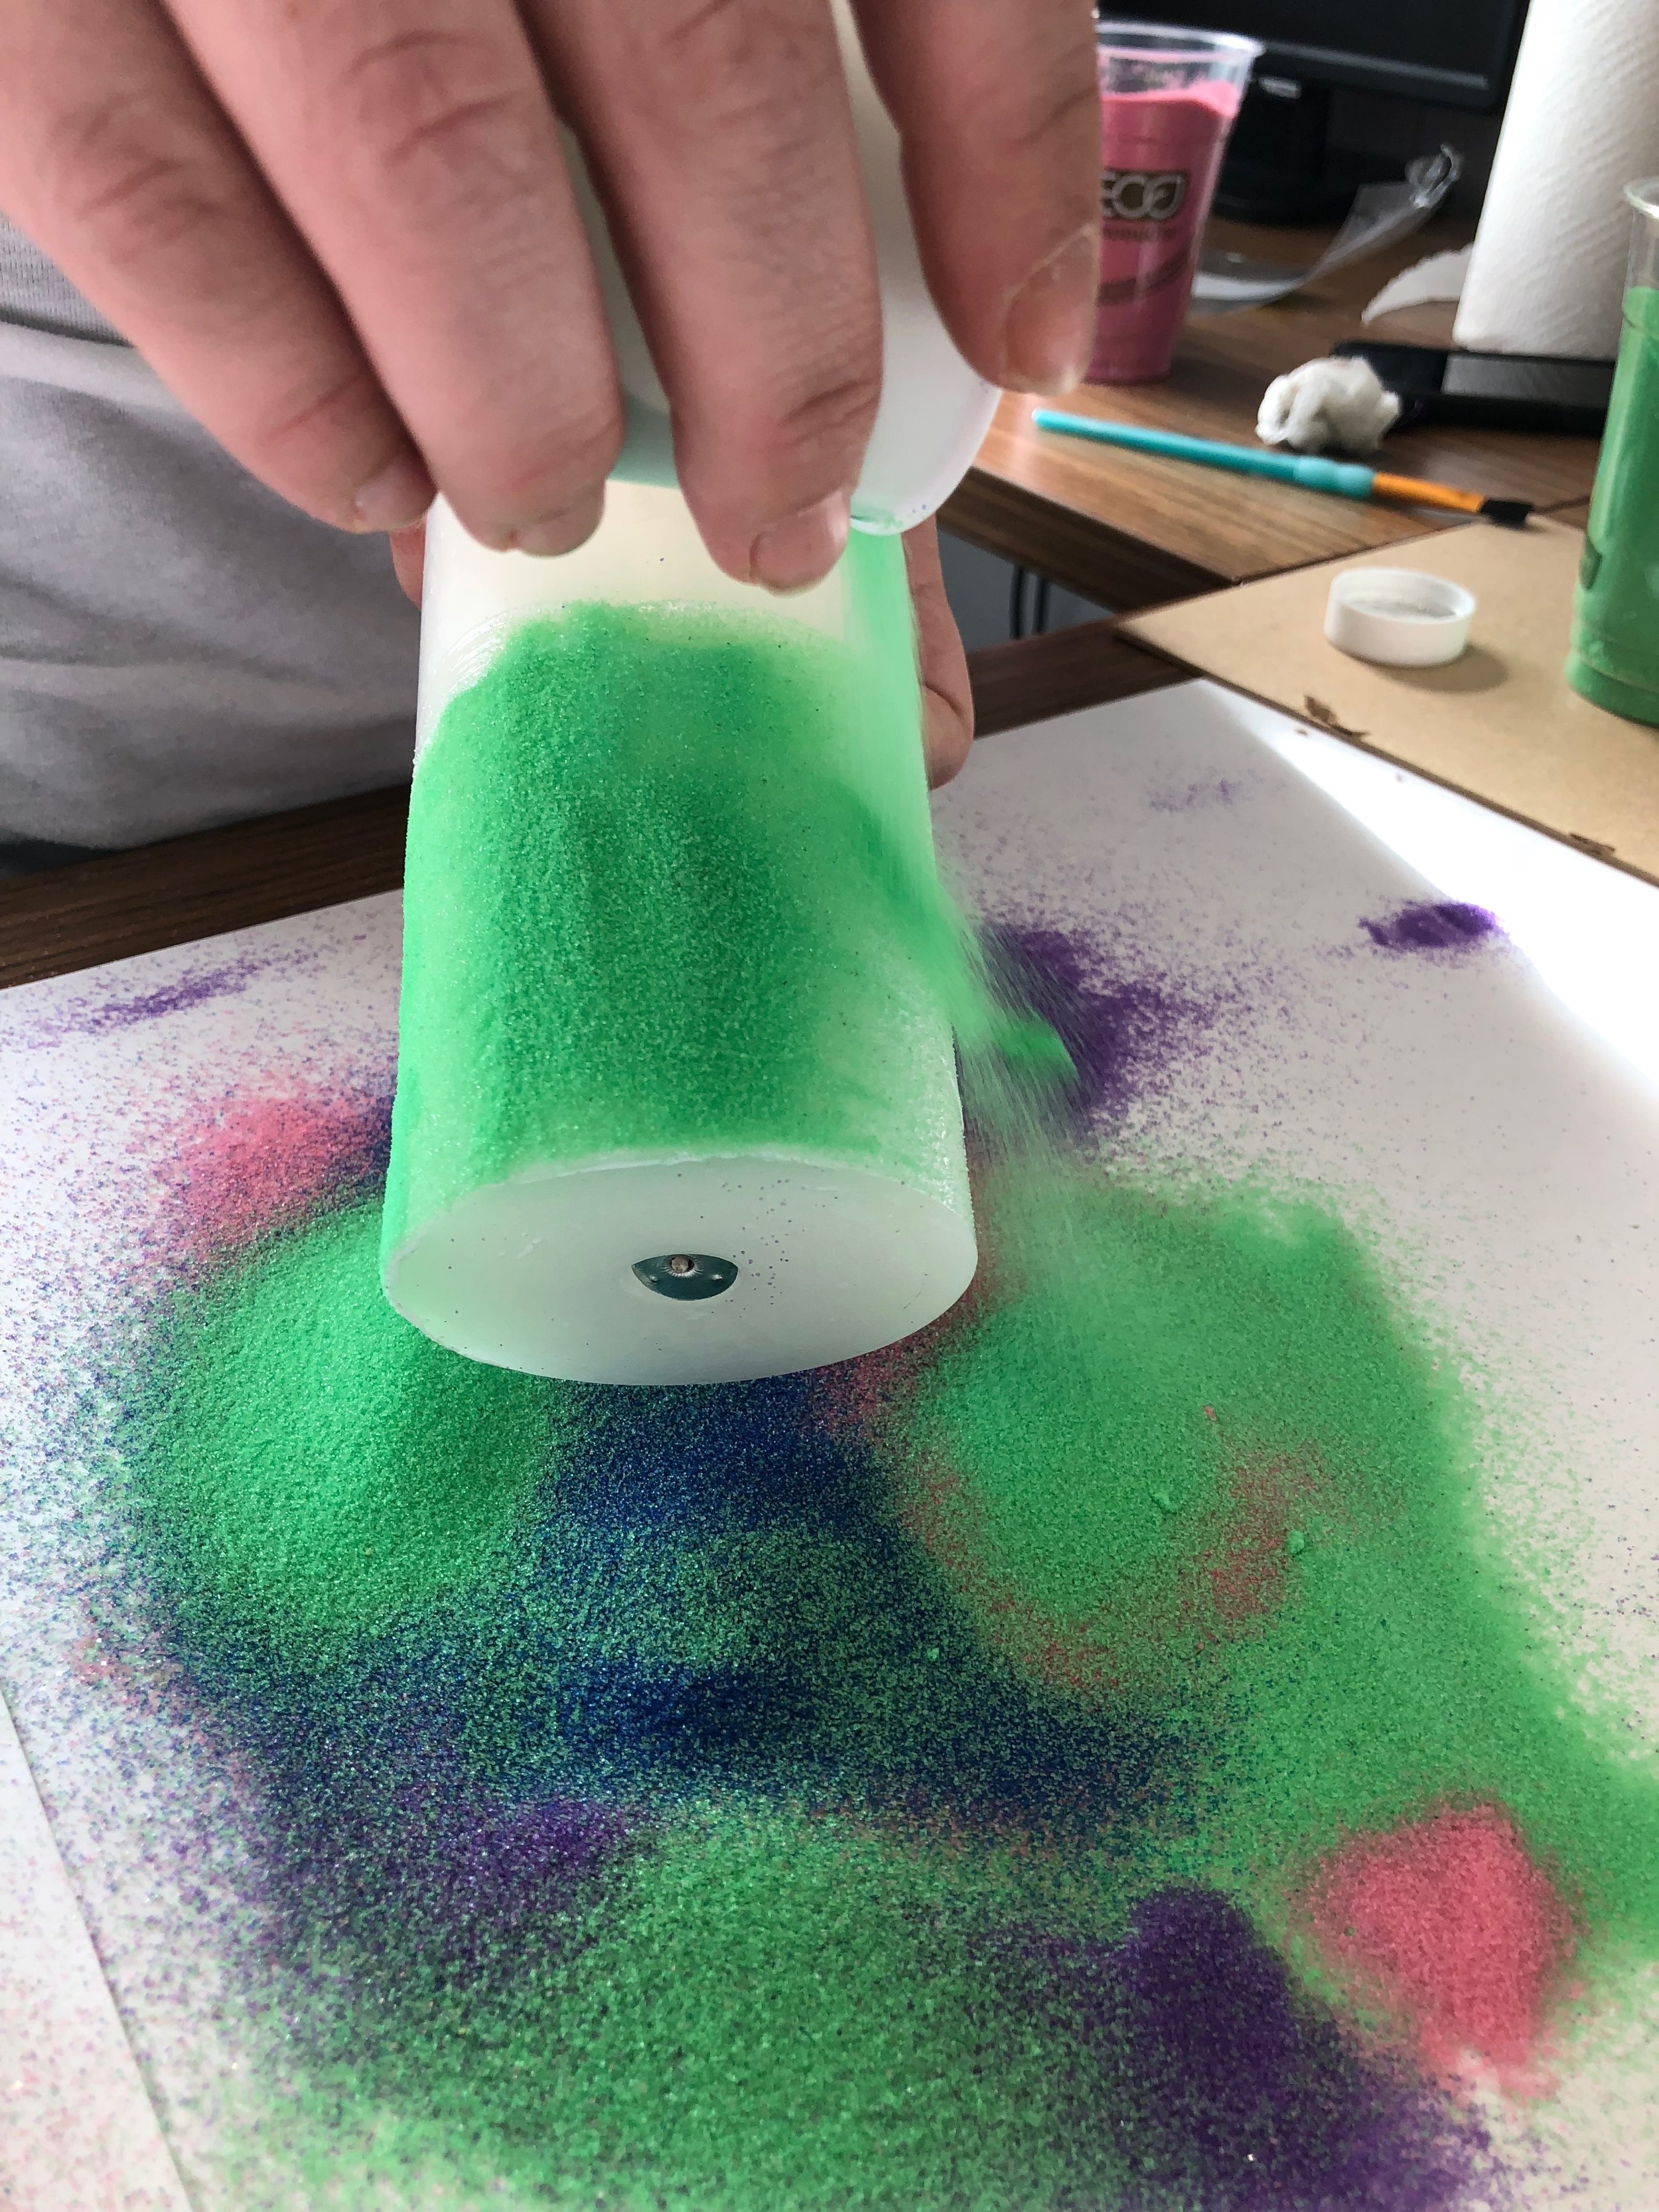
Spring has sprung! Color up your plastic Easter eggs this holiday with Crayola Play Sand! Colored sand is an awesome alternative to traditional egg dye that is less of a mess but all the more color!

The 'sweetest' part is that you can fill it with your kids favorite candy! (We always recommend placing wrapped/sealed candy inside no matter how you choose to decorate your eggs).

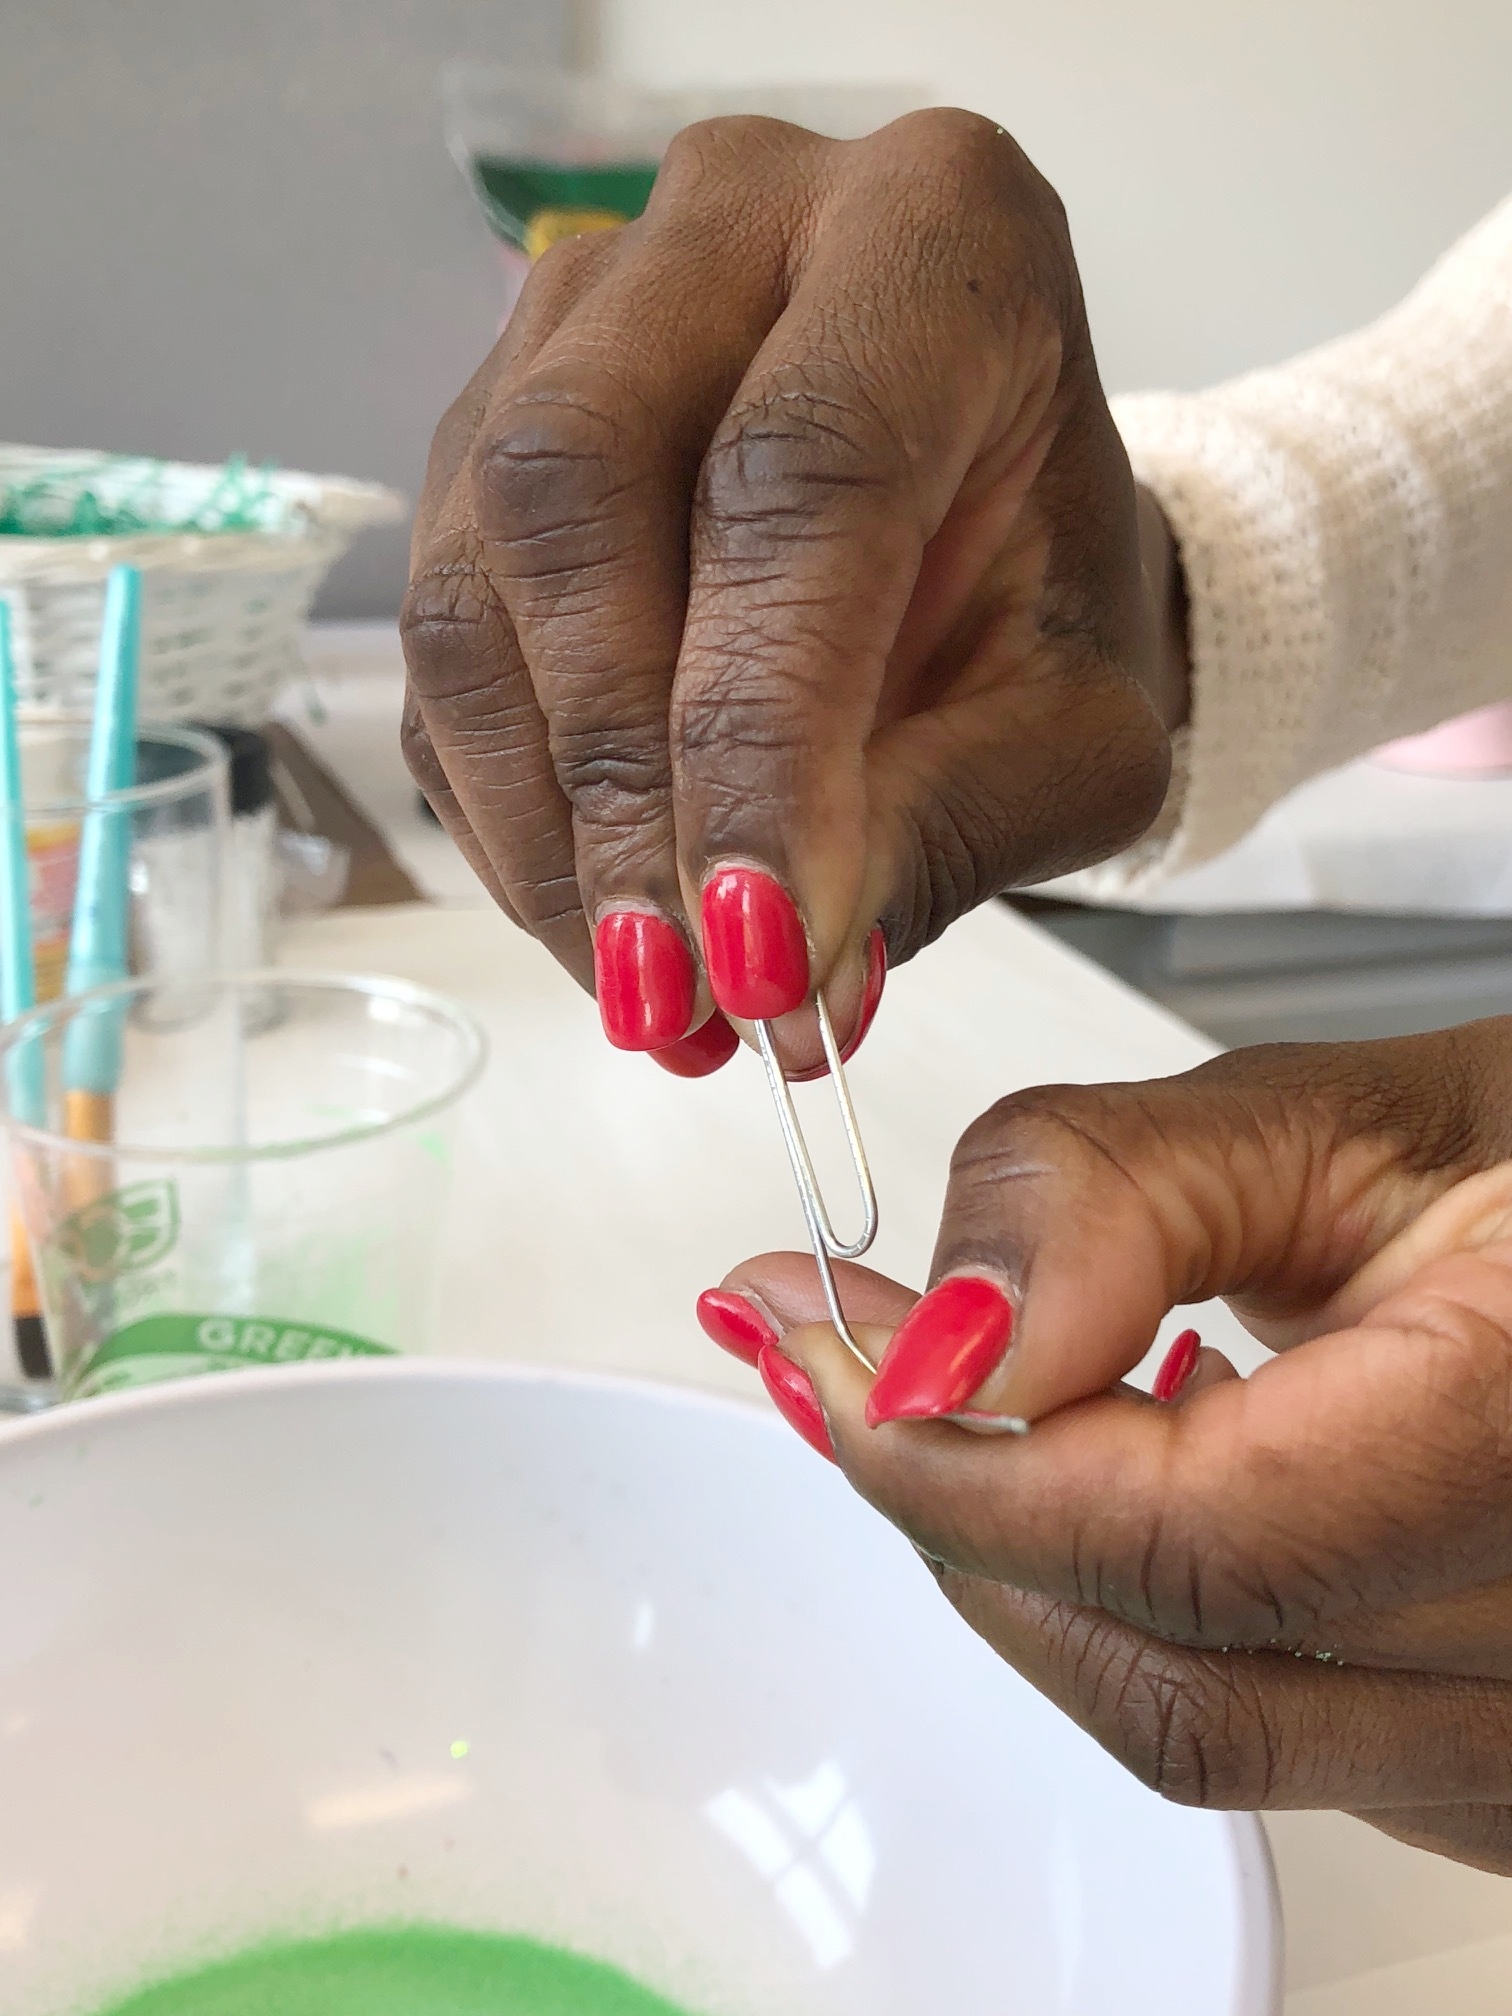
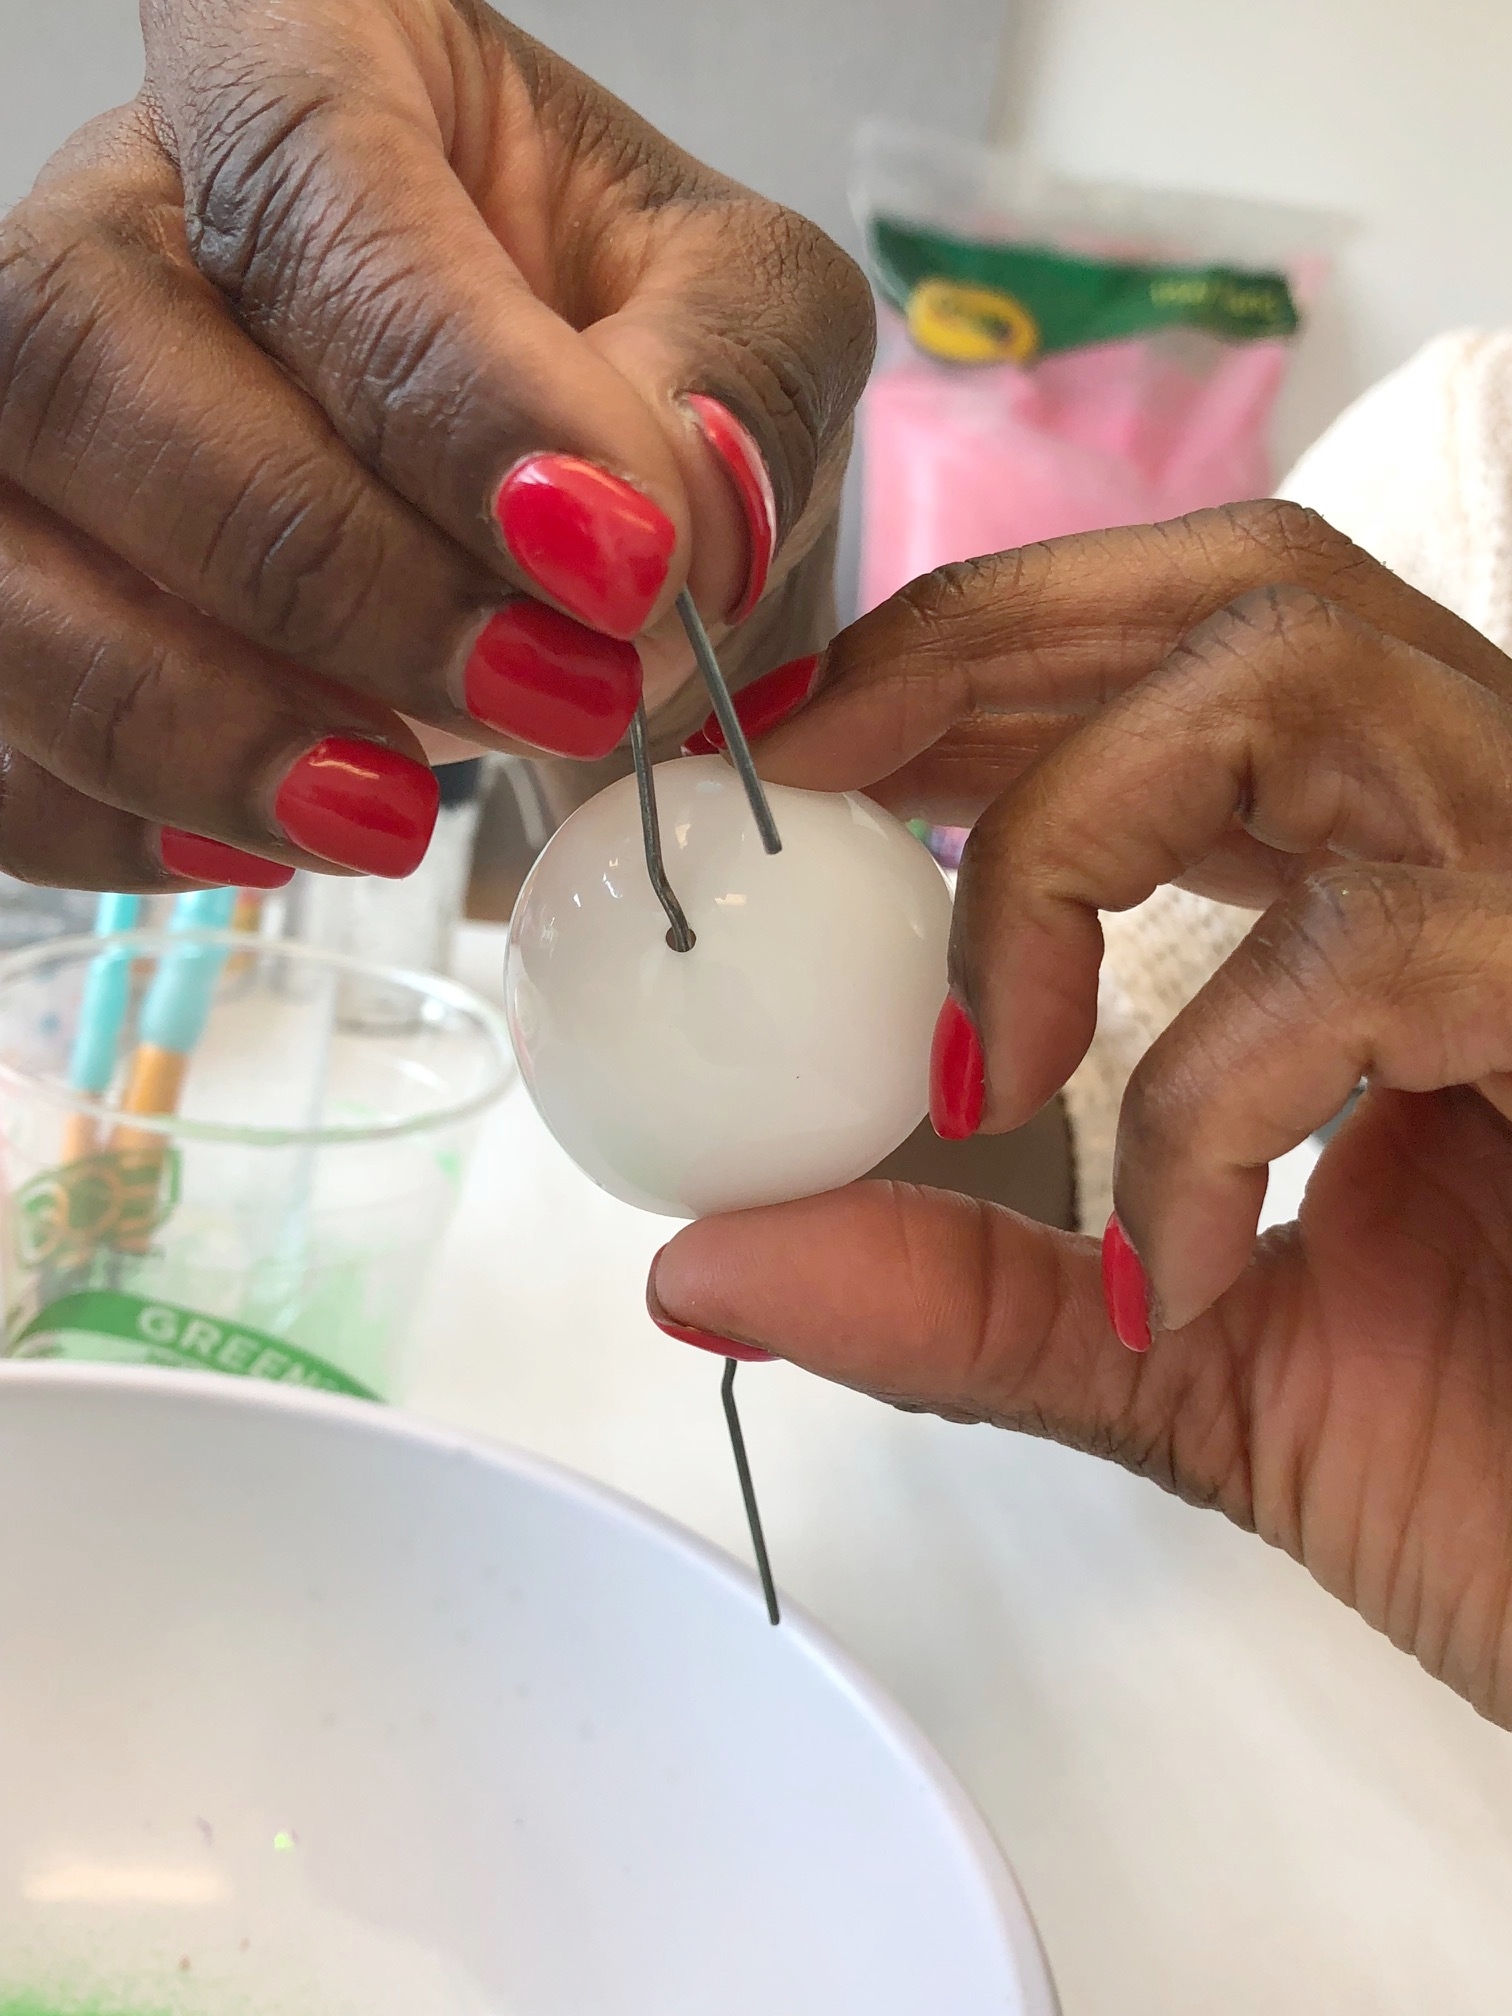
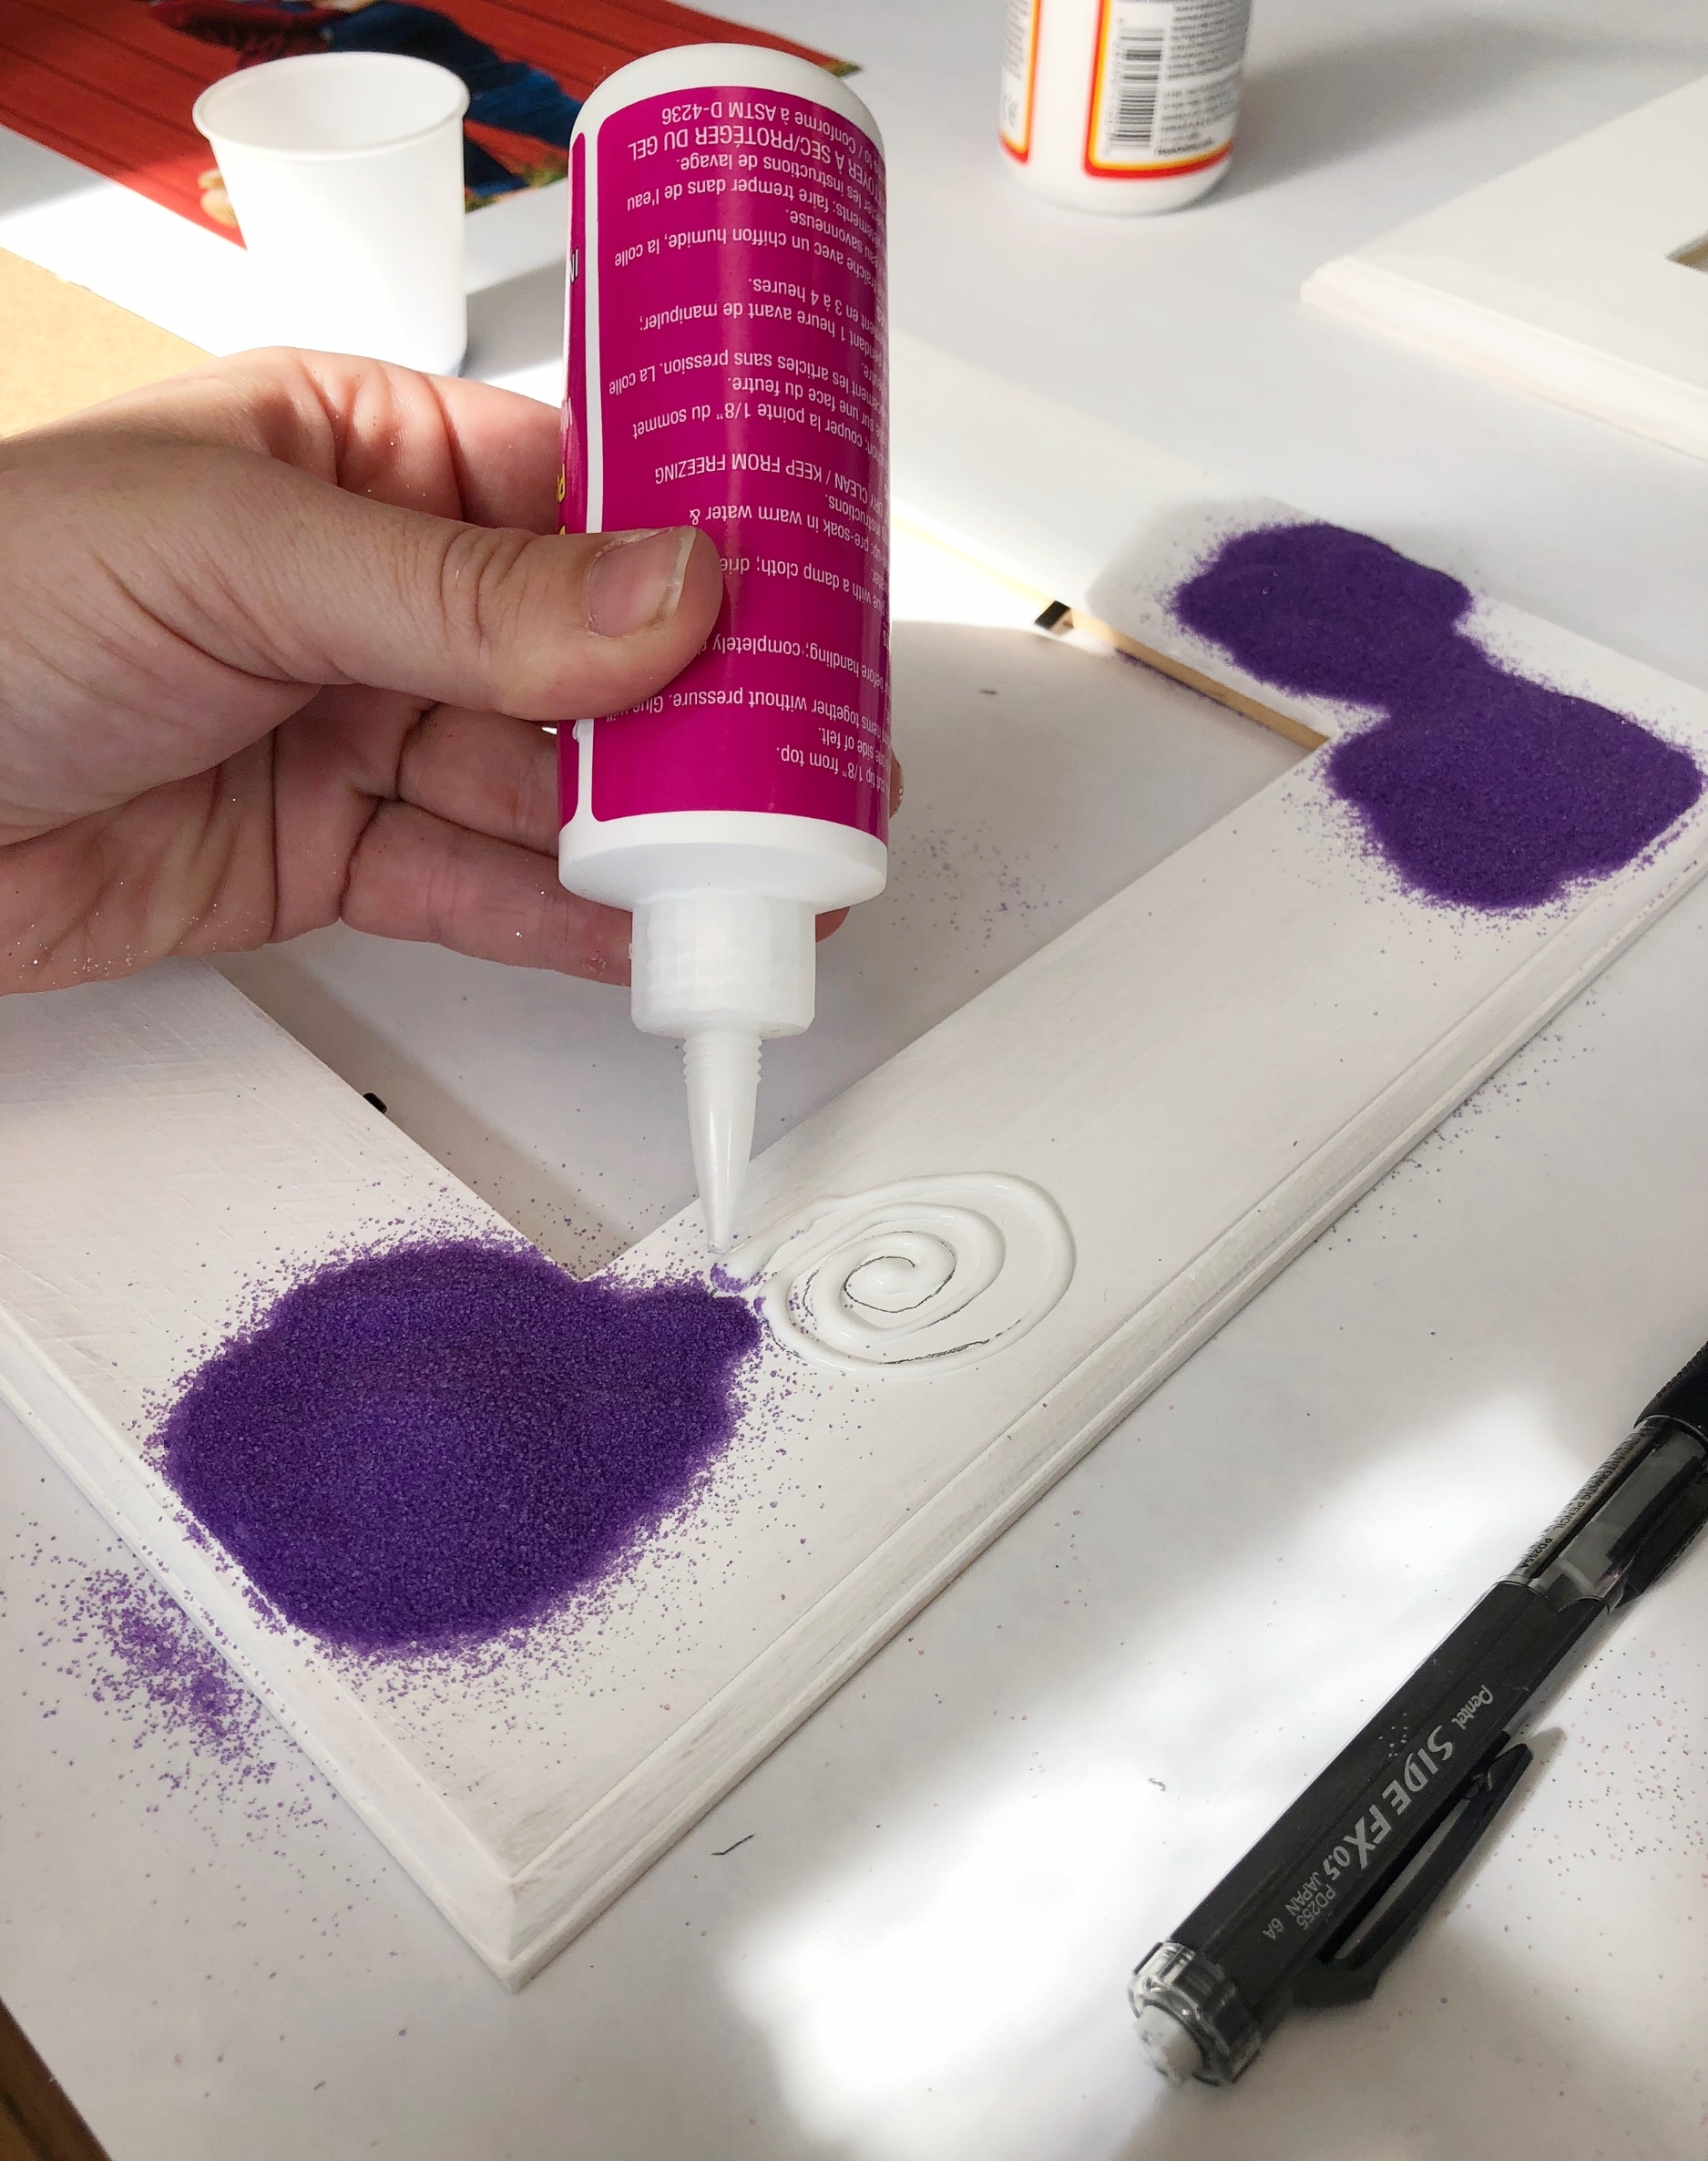
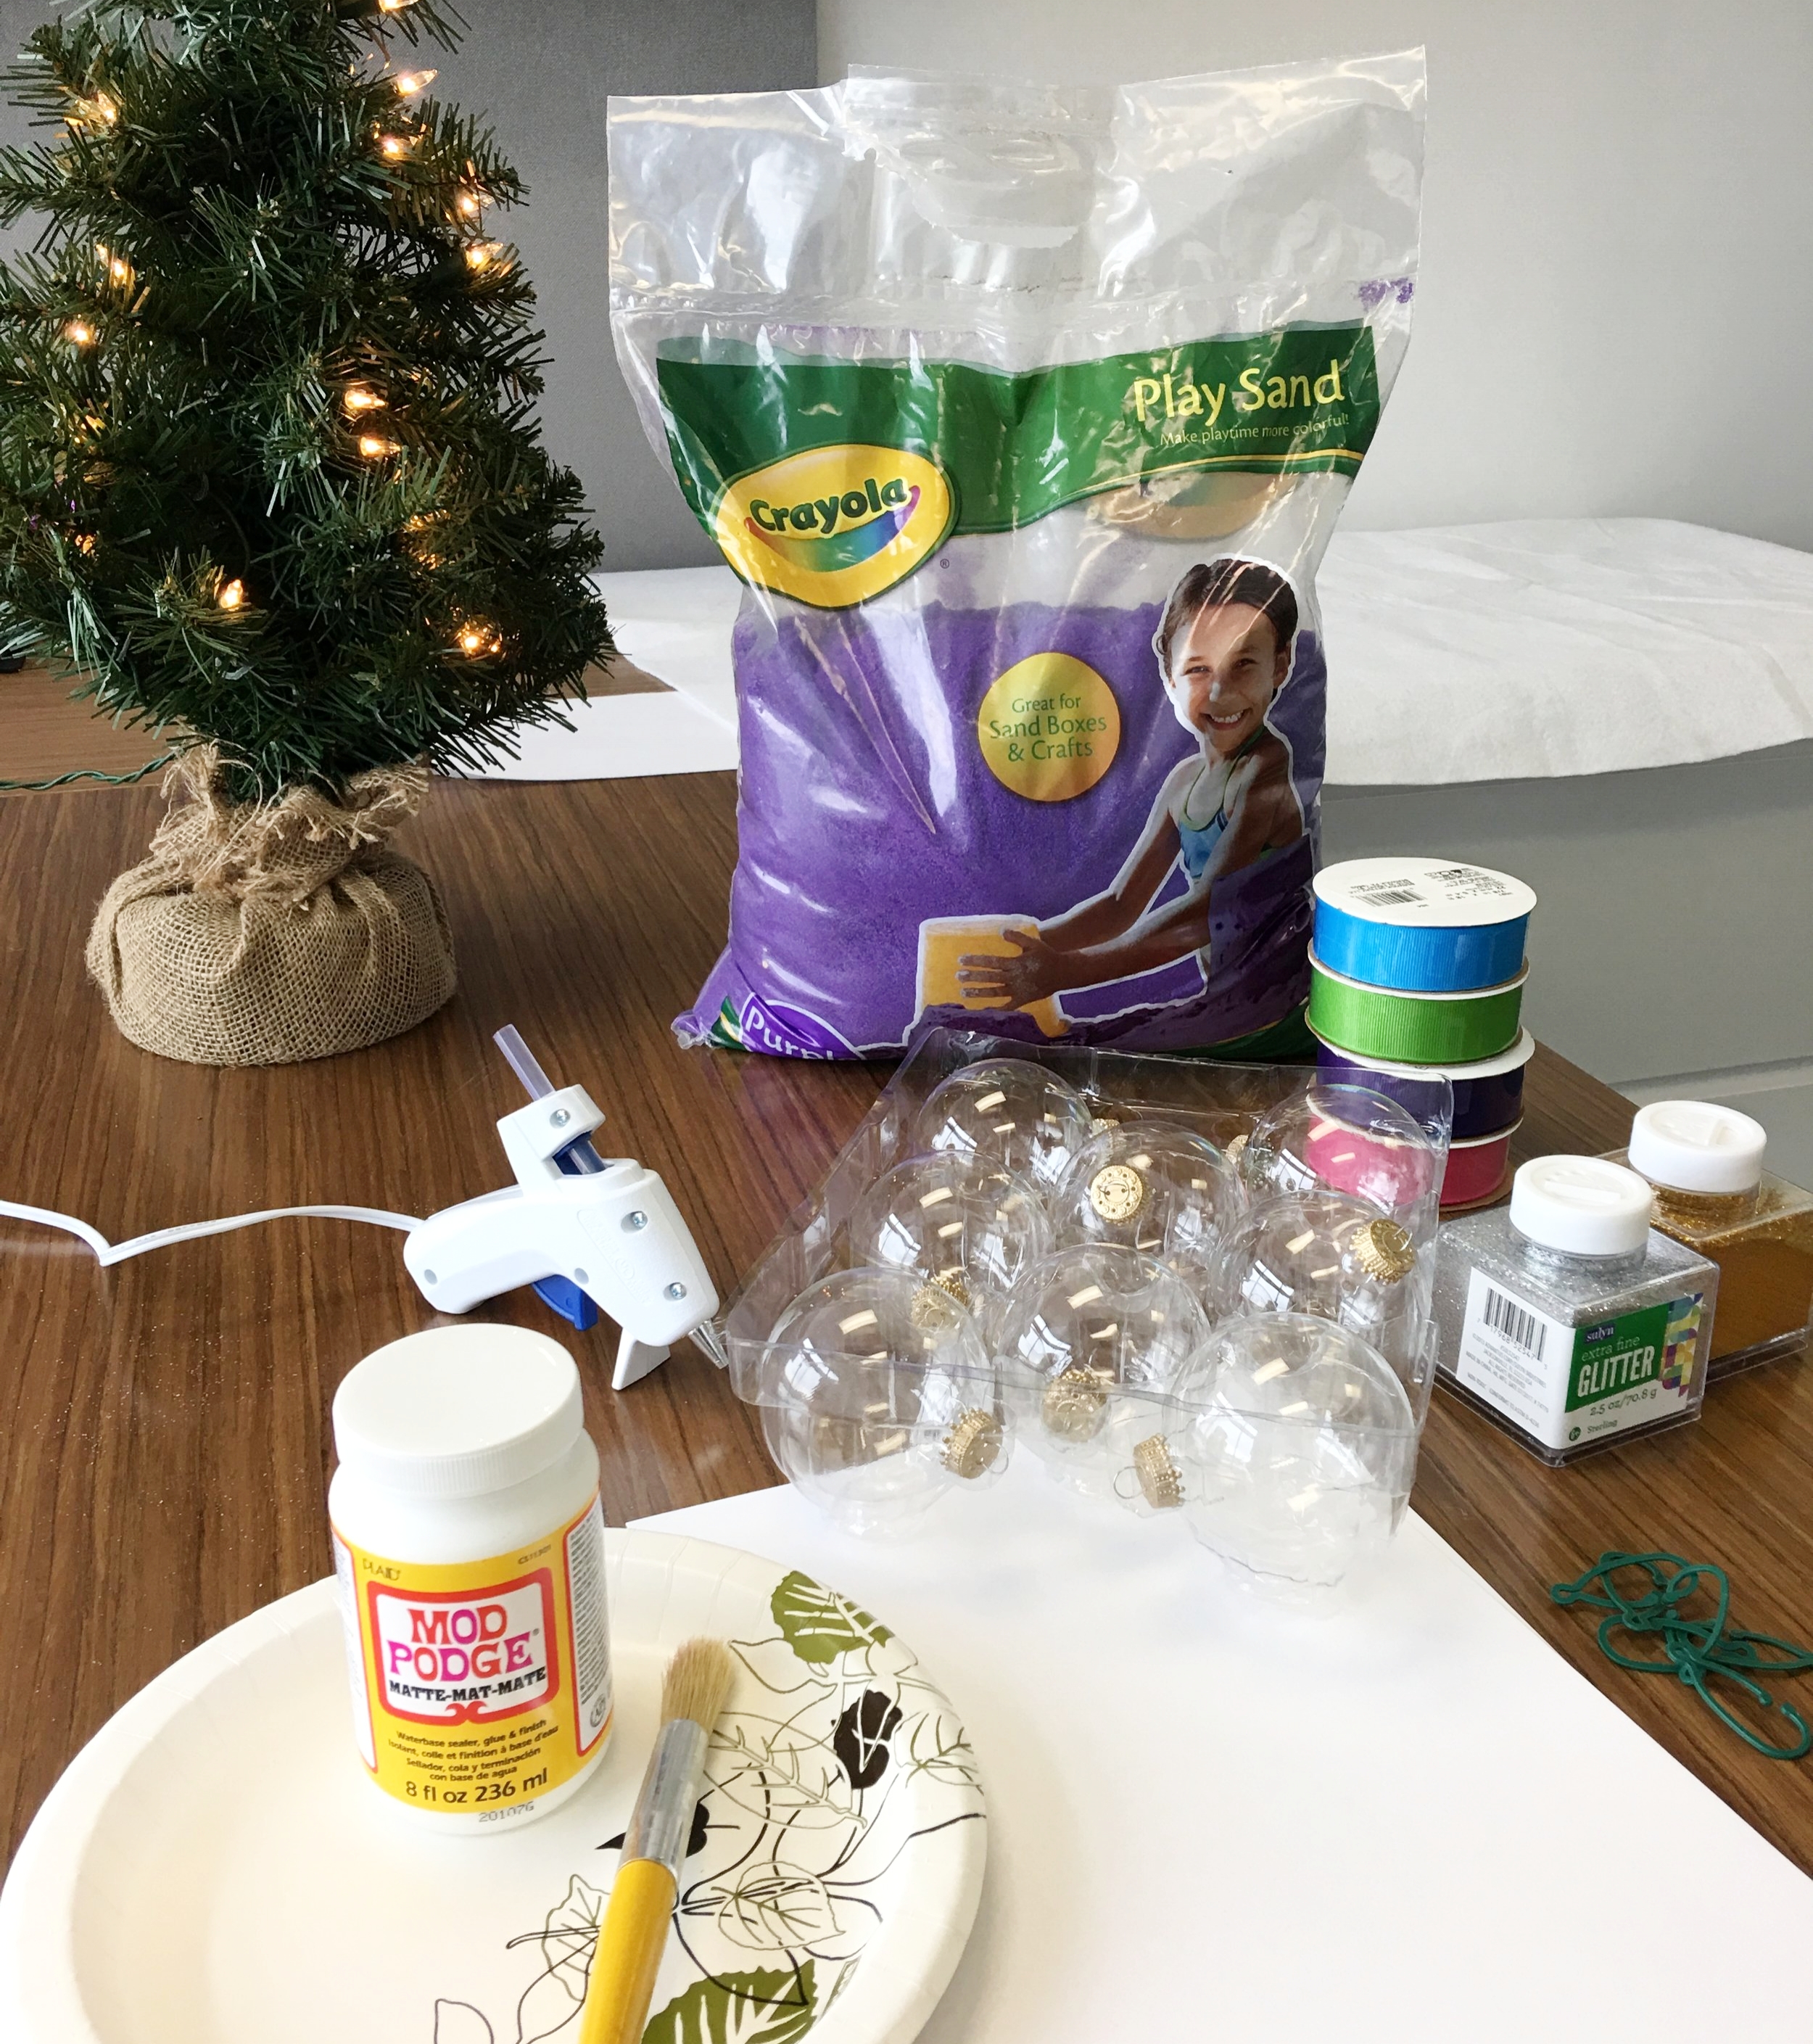
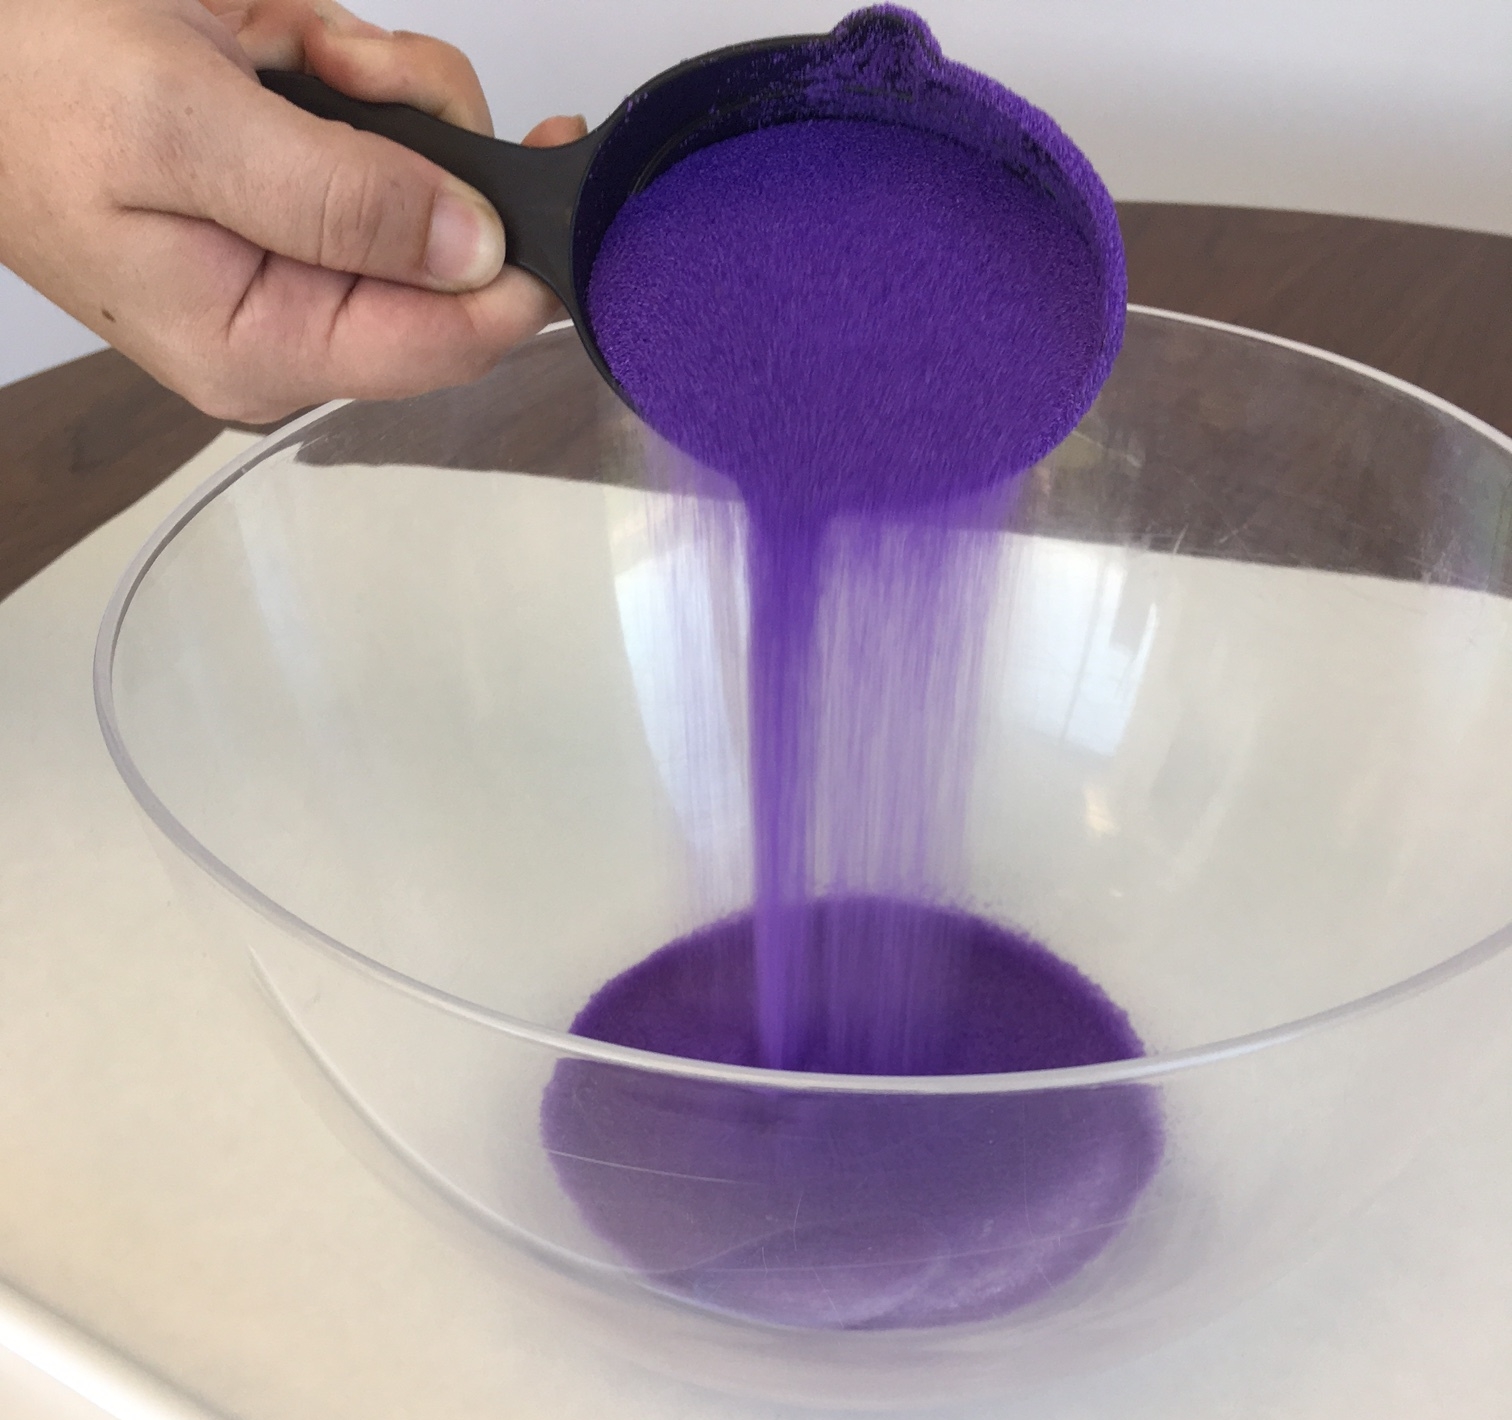
Below are the step-by-step instructions to the colorful DIY straight from the Crayola Play Sand Lab. 

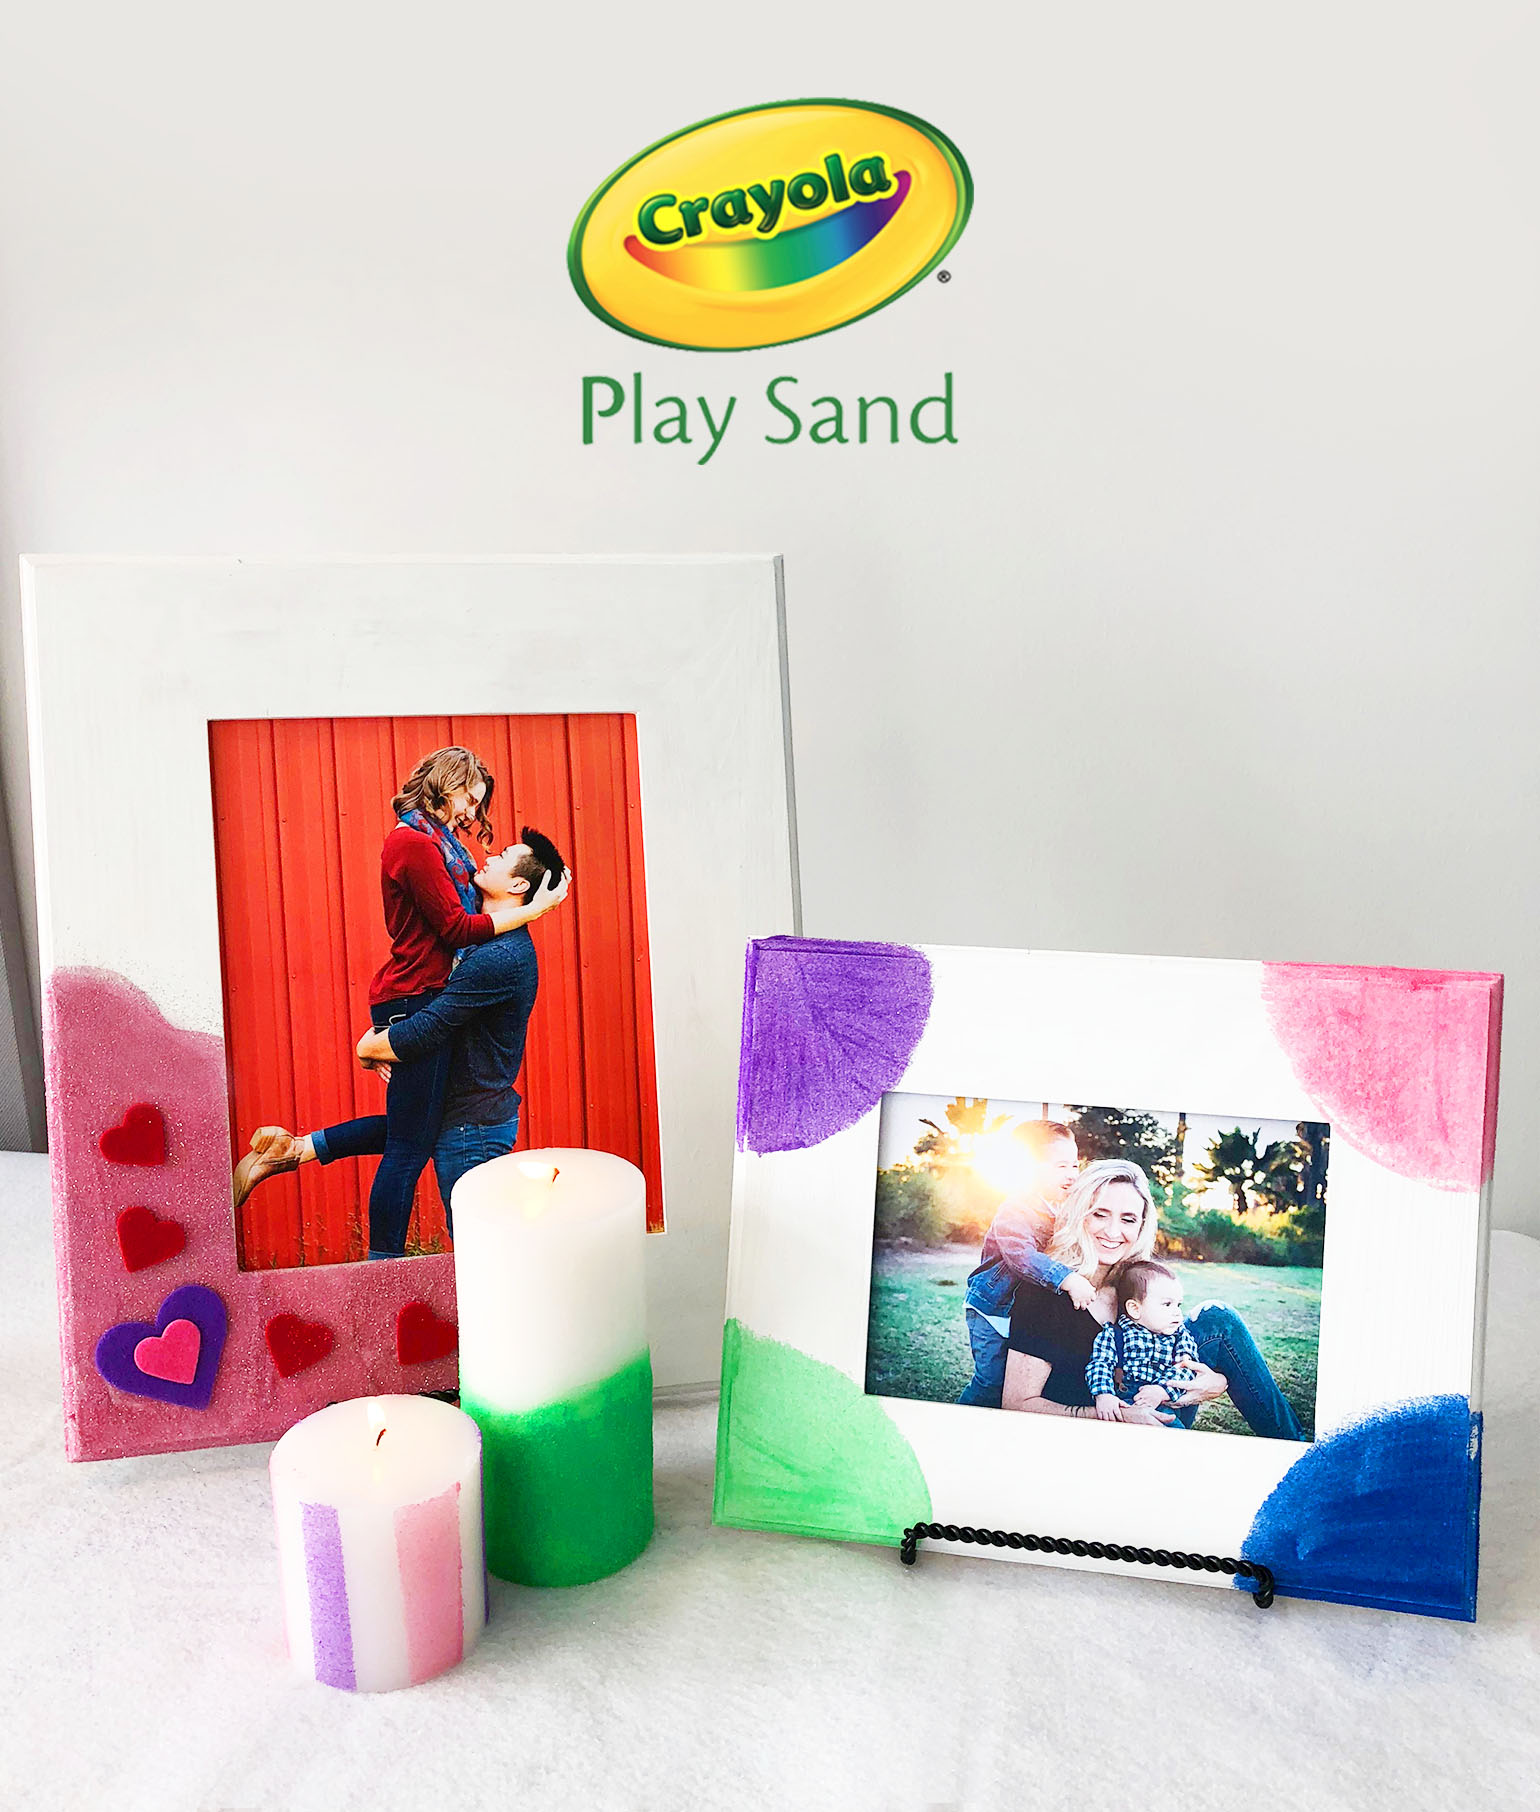
Keep reading to learn how to decorate your own!

IMG_0167.jpg

MATERIALS

Here are some of the items you'll need:

  • Plastic white Easter eggs (Find these at your local craft store)

  • 1 8 oz. jar of Mod Podge, or any type of kid-safe liquid glue

  • At least 1 bag of Crayola Play Sand- Any color! Select multiple colors for an even cooler looking design! (Click here to find it at a store near you!)

  • 1 Cup per color of Crayola Play Sand

  • Large Paper clips (1 for each egg you intend to make)

  • Medium Paint Brush

  • Bowls

  • Glitter

  • Candy! (Wrapped candy preferred)

  • Straw grass & Basket (optional)

  • 1 styrofoam block

Purple Crayola Play Sand

Purple Crayola Play Sand

Pink Crayola Play Sand

Pink Crayola Play Sand


INSTRUCTIONS:

For starters, lets create a simple way to hold the eggs while you paint, sand and set them to dry. We do this by unfolding a large paperclip and leaving it in the shape of a candy cane (like below).

IMG_0185.jpg
IMG_0186.jpg

Next, break apart a plastic egg, hold the bottom half of the egg (or the side with the 2 holes in it) and slide the paperclip through both holes as pictured below. Then add the other half of the egg by sliding it up the bottom end of the paper clip.

Snap the eggs together and you're done! You now have an easy, less messy and more fun way to decorate your eggs. Let the fun begin!

IMG_0191.jpg
IMG_0192.jpg

First, pour Crayola Play Sand (and even glitter if you like sparkle) into a bowl, mix the materials together, and set it to the side.

IMG_0182.jpg
IMG_0224.jpg

Holding the egg by the paper clip handle, use a brush to paint Mod Podge or liquid glue onto your egg with swift strokes until the egg is covered specifically where you'd like to add your play sand and glitter. You can do spots, stripes or the entire egg!

IMG_0072.jpg
IMG_0077.JPG
IMG_0205.jpg

Next, grab your bowl of Crayola Play Sand and/or glitter mix and begin carefully sprinkling it along the areas you applied glue to using a spoon. Don't be afraid to shake on alot if you're going for a strong pop of color! 

IMG_0207.jpg
IMG_0214.jpg

Place the egg in the styrofoam block and Let dry for about half an hour.

IMG_0217.jpg

Once the eggs are dry, you can fill them with your favorite wrapped candy and you're done!

Easter 2018 blog final.jpg

We chose to do a complete Easter Basket!

IMG_0239.jpg
IMG_0241.jpg
IMG_0234.jpg
IMG_0237.jpg

We hope you have a blast decorating your eggs this Spring time!

Be sure to come back again for more amazing projects and DIYs from the Crayola Play Sand Lab!

Colorful Valentine's Day Gifts ideas using Crayola Play Sand!

Crayola play sand valentine craft header

Celebrate love by having some craft time fun using Crayola Play Sand! 

Below are some fun and easy DIY ideas from the Crayola Play Sand Lab that are fun and safe for both parents and kids. Create a one of a kind picture frame for your favorite photo of your loved one and even make a matching candle to pair with it using colored sand! 

Keep reading for a little inspiration to make your own!

Crayola play sand valentine craft supplies.jpg

MATERIALS

Here are some of the items you'll need:

  • White wooden frames (Find these at your local craft store)

  • Candles (try mixing tall and medium sizes)

  • At least 1 bag of Crayola Play Sand- Any color! Select multiple colors for an even cooler looking design! (Click here to find it at a store near you!)

  • 1 8 oz. jar of Mod Podge, or any type of kid-safe liquid glue

  • Medium Brush

  • Paper heart stickers

  • Paper plates (makes for easy clean up!)

  • Glitter

  • 1 Cup per color of Crayola Play Sand

Purple Crayola Play Sand

Purple Crayola Play Sand

Pink Crayola Play Sand

Pink Crayola Play Sand


INSTRUCTIONS & IDEAS

For starters, pour Crayola Play Sand, glitter (or a mix of both!) on to a paper plate, mix the materials together, pour it into a cup and set it to the side.

IMG_0064.jpg
IMG_0065.jpg

Using the brush, paint Mod Podge or liquid glue onto your white frame with swift strokes until the frame is covered specifically where you'd like to add materials your play sand and glitter. We chose to dazzle up just one corner of the frame!

IMG_0072.jpg
IMG_0077.JPG

Next, grab your cup of Crayola Play Sand and/or glitter mix and begin carefully sprinkling it along the areas you applied glue to. Don't be afraid to shake on alot if you're going for a strong pop of color! 

IMG_0079.JPG
IMG_0104 (1).jpg

Let dry for about half an hour and then glue on your heart decor as desired. (Tip: apply glue to the back of decor items for a stronger hold to the frame).

Below is another frame design option using Purple Crayola Play Sand.

IMG_0081.JPG
IMG_0083.JPG


Now lets have some fun with the candles!

Here are some other neat design ideas using the same glue and sand sprinkling method.

IMG_0088.JPG
IMG_0091.JPG

Below we added some of our leftover hear decor to the candle before the glue and sprinkling step. Once done, we removed the decor to leave behind a cool heart shaped pattern design! The possibilities are endless!

IMG_0097.JPG
IMG_0098.JPG
IMG_0102.JPG

Here are some of the finished pieces!

IMG_0138.jpg
IMG_0132.JPG
crayola valentine 2018 final.jpg

We hope you enjoy brining some of these craft ideas to life with your loved ones this Valentine's Season!

Visit again for more amazing projects and DIYs from the Crayola Play Sand Lab!

Make Festive Ornaments using Crayola Play Sand!

title IMG_1560.jpg

Tis' the Season to Color Your Play! The holidays are upon us and one amazing way to color up your traditional decor is with Crayola Play Sand! Today in the Crayola Play Sand Lab, we are showing you many cool ways to color up your tree ornaments with colored sand. When getting creative using swirls, glitter, lettering, and glue, the possibilities are endless! 

Keep reading for a little inspiration to make your own!

IMG_1513.JPG

MATERIALS

Here are some of the items you'll need:

  • Clear/Glass or Plastic Ornaments (Find these at your local craft store)

  • 1 bag of Crayola Play Sand- Any color! Pick multiple colors for an even cooler looking ornament designs! (Click here to find it at a store near you!)

  • 1 8 oz. jar of Mod Podge, or any type of kid-safe glue

  • Medium Brush

  • 1 bowl

  • Paper plates (makes for easy clean up!)

  • Glitter

  • Glue Gun (Safety First!)


INSTRUCTIONS & IDEAS

Pour Crayola Play Sand, glitter (or a mix of both!) into a medium sized bowl and sit to the side.

IMG_1516.JPG

Using the brush, paint Mod Podge or liquid glue onto the ornament with swift strokes until the ornament is covered specifically where you'd like to add materials.

IMG_1517.JPG

Next, dip the ornament in in your bowl of Crayola Play Sand. This method works specifically for covering a large solid area of the ornament.

IMG_1521.JPG
IMG_1522.JPG

Let dry for about an hour and then it's ready to hang in the tree!!

IMG_1537.JPG


Here are some other festive design ideas:

IMG_1534.JPG
IMG_1529.JPG
IMG_1532.JPG
IMG_1537.JPG
no title IMG_1560.jpg

Happy Holidays from the Crayola Play Sand Lab!!

Make Spooky Halloween Glow Bowls with Crayola Play Sand!

IMG_1245 edit 2.jpg

Halloween is one of the most fun-filled times of the year! Fun costumes, trick-or-treating, parties galore and best of all, spooky decor! Today in the Crayola Play Sand Lab, we have another super easy DIY decor: Halloween Glow Bowls! These are fast and simple to make when you're in a hurry to decorate and even makes for a great Halloween sensory bin for kids that need or enjoy unique interaction.

Keep reading to learn how to make one of your own using colored sand!

IMG_1247.JPG

MATERIALS

Here's what you'll need:

  • 1 Clear glass or acrylic bowl (Found at your local craft store - Any size will do!)

  • 1 bag of Crayola Play Sand- Any color! Pick multiple colors for an even cooler looking bowl! (Click here to find it at a store near you!)

  • Plastic neon Halloween favors (Found at Walmart)

  • Neon Pebbles (Optional, Found at Walmart)

  • Blacklight (Optional, but highly recommended).


INSTRUCTIONS

1. Start by pouring in the Crayola Play Sand cup by cup into the bowl until you reach your desired level. Take your bowl up a level by layering multiple play sand colors... (but be sure to keep the separate by not mixing it).

IMG_9301.JPG

2. Once the sand is in the bowl, start adding the neon pebbles and Halloween decor to your liking. Just plant them right in!

IMG_1252.JPG
IMG_1256.JPG

3. We planted the skeletons and bats it and placed the spiders and snakes on the surface. Finally, we draped the beads all around the bowl. Perfect for a party table centerpiece!

IMG_1229.JPG


5. Optional but Recommended: With the room lights off, use a black light to add an extra glow effect to your bowl. Watch those neon colors and play sand pop once the light is turned on! If a blacklight is hard to find, you can always buy a blacklight light bulb (from Walmart) and screw it into a regular lamp or desk lamp. Works like a charm!

IMG_1242.JPG
IMG_1245 edit last.jpg

And you're all done! Here's to a glowingly spooky Halloween!