Sensory

Make Festive Ornaments using Crayola Play Sand!

title IMG_1560.jpg

Tis' the Season to Color Your Play! The holidays are upon us and one amazing way to color up your traditional decor is with Crayola Play Sand! Today in the Crayola Play Sand Lab, we are showing you many cool ways to color up your tree ornaments with colored sand. When getting creative using swirls, glitter, lettering, and glue, the possibilities are endless! 

Keep reading for a little inspiration to make your own!
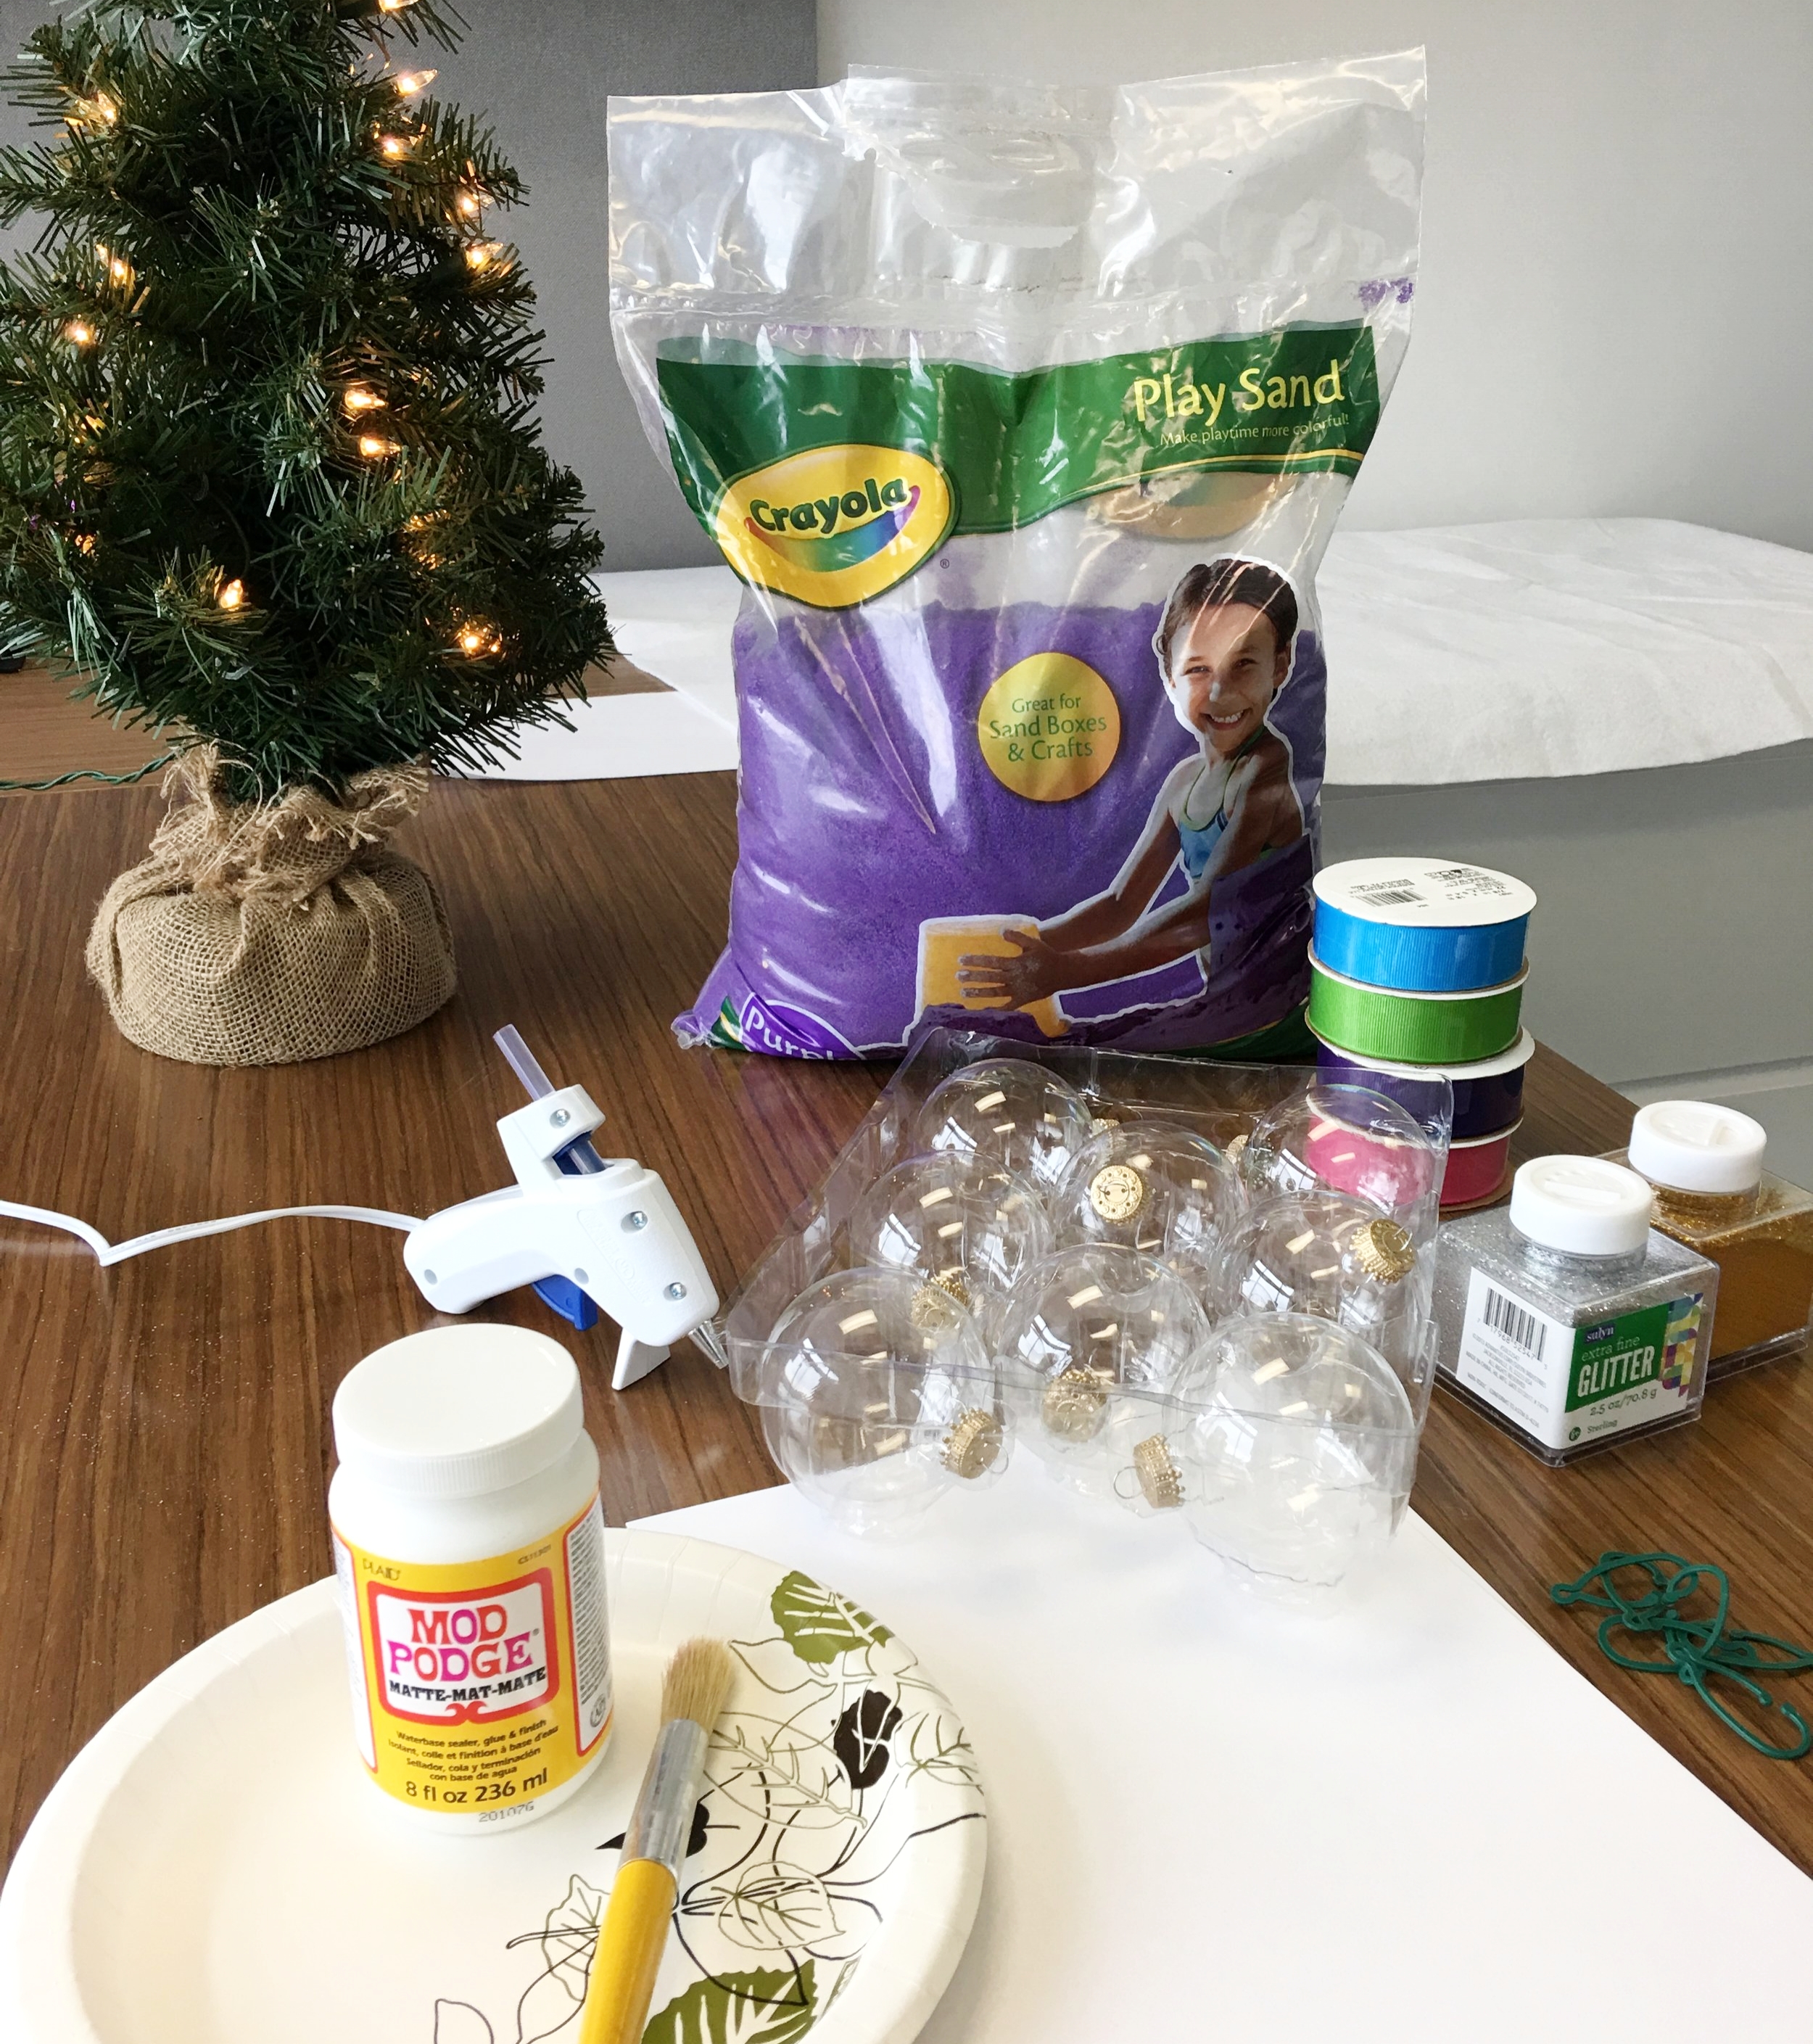
IMG_1513.JPG

MATERIALS

Here are some of the items you'll need:

  • Clear/Glass or Plastic Ornaments (Find these at your local craft store)

  • 1 bag of Crayola Play Sand- Any color! Pick multiple colors for an even cooler looking ornament designs! (Click here to find it at a store near you!)

  • 1 8 oz. jar of Mod Podge, or any type of kid-safe glue

  • Medium Brush

  • 1 bowl

  • Paper plates (makes for easy clean up!)

  • Glitter

  • Glue Gun (Safety First!)


INSTRUCTIONS & IDEAS

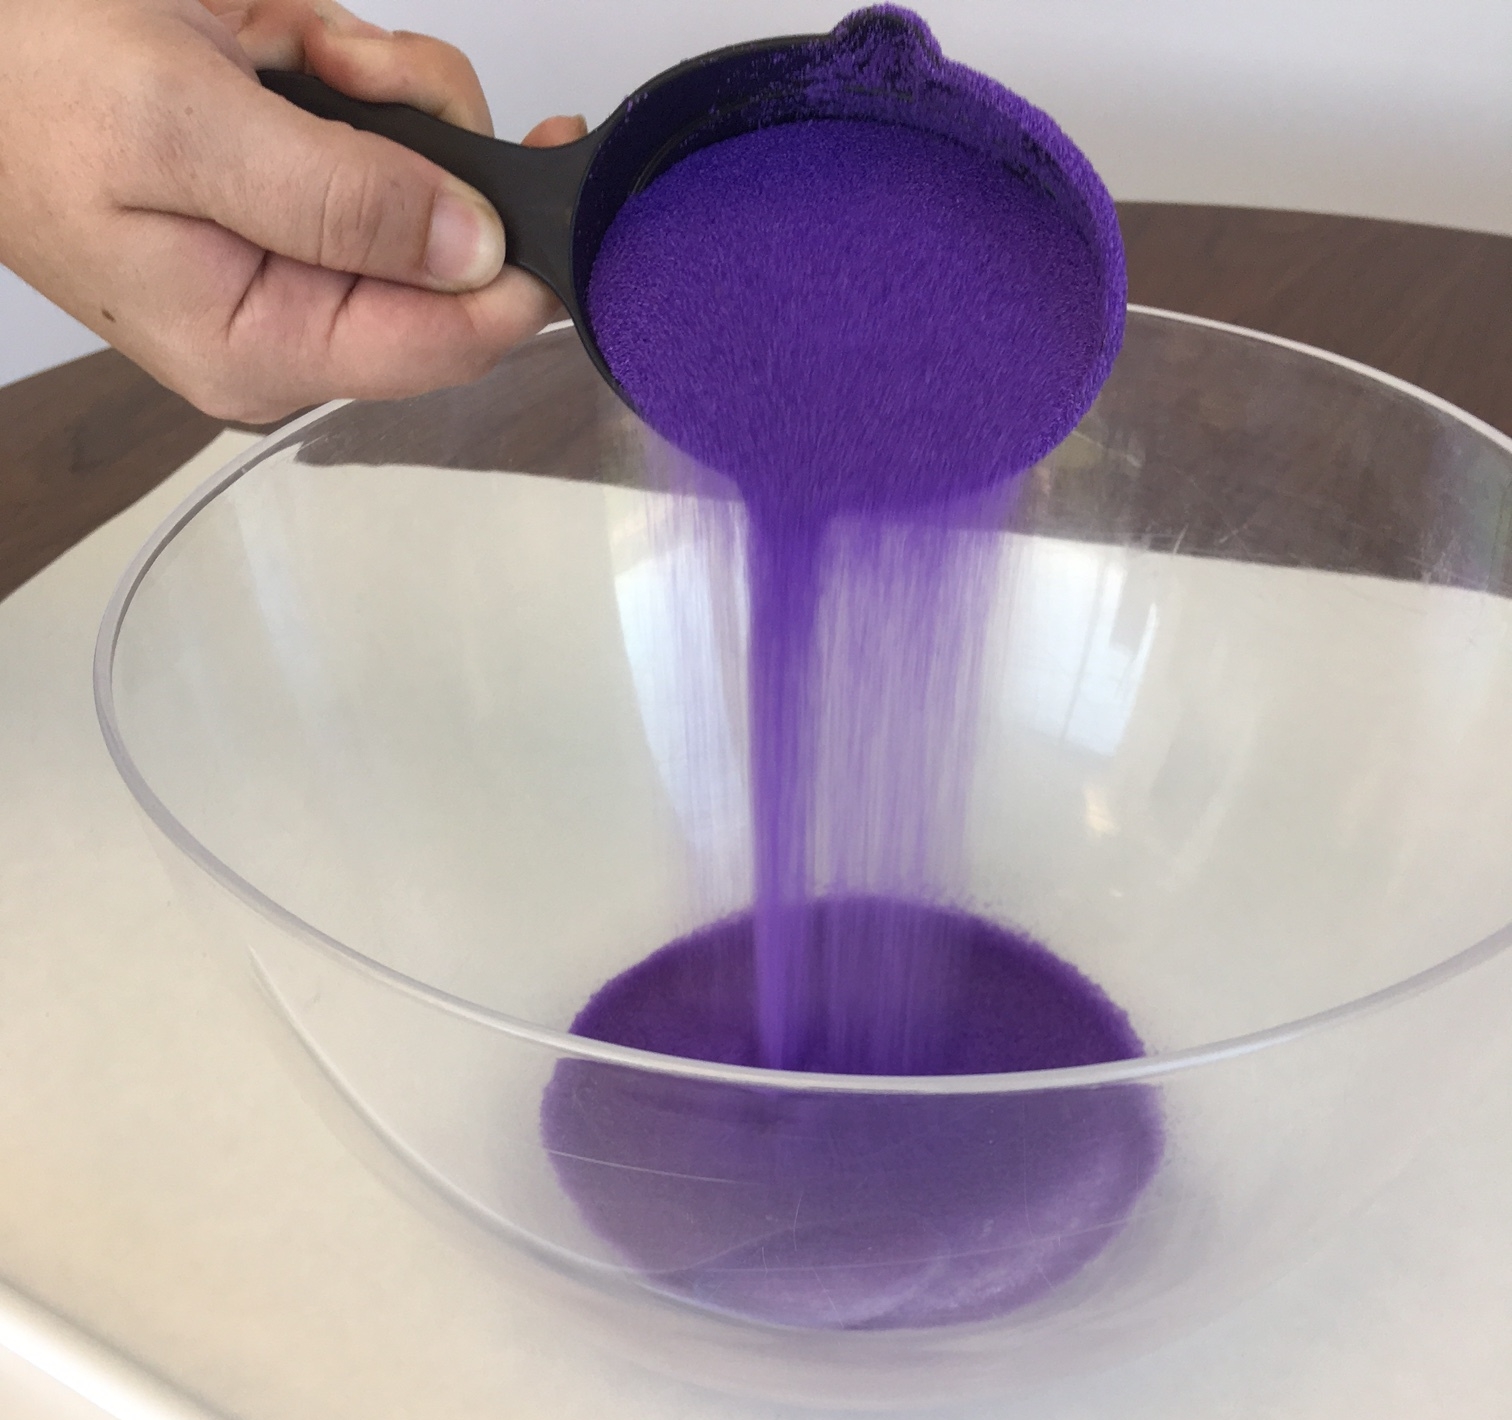
Pour Crayola Play Sand, glitter (or a mix of both!) into a medium sized bowl and sit to the side.

IMG_1516.JPG

Using the brush, paint Mod Podge or liquid glue onto the ornament with swift strokes until the ornament is covered specifically where you'd like to add materials.

IMG_1517.JPG

Next, dip the ornament in in your bowl of Crayola Play Sand. This method works specifically for covering a large solid area of the ornament.

IMG_1521.JPG
IMG_1522.JPG

Let dry for about an hour and then it's ready to hang in the tree!!

IMG_1537.JPG


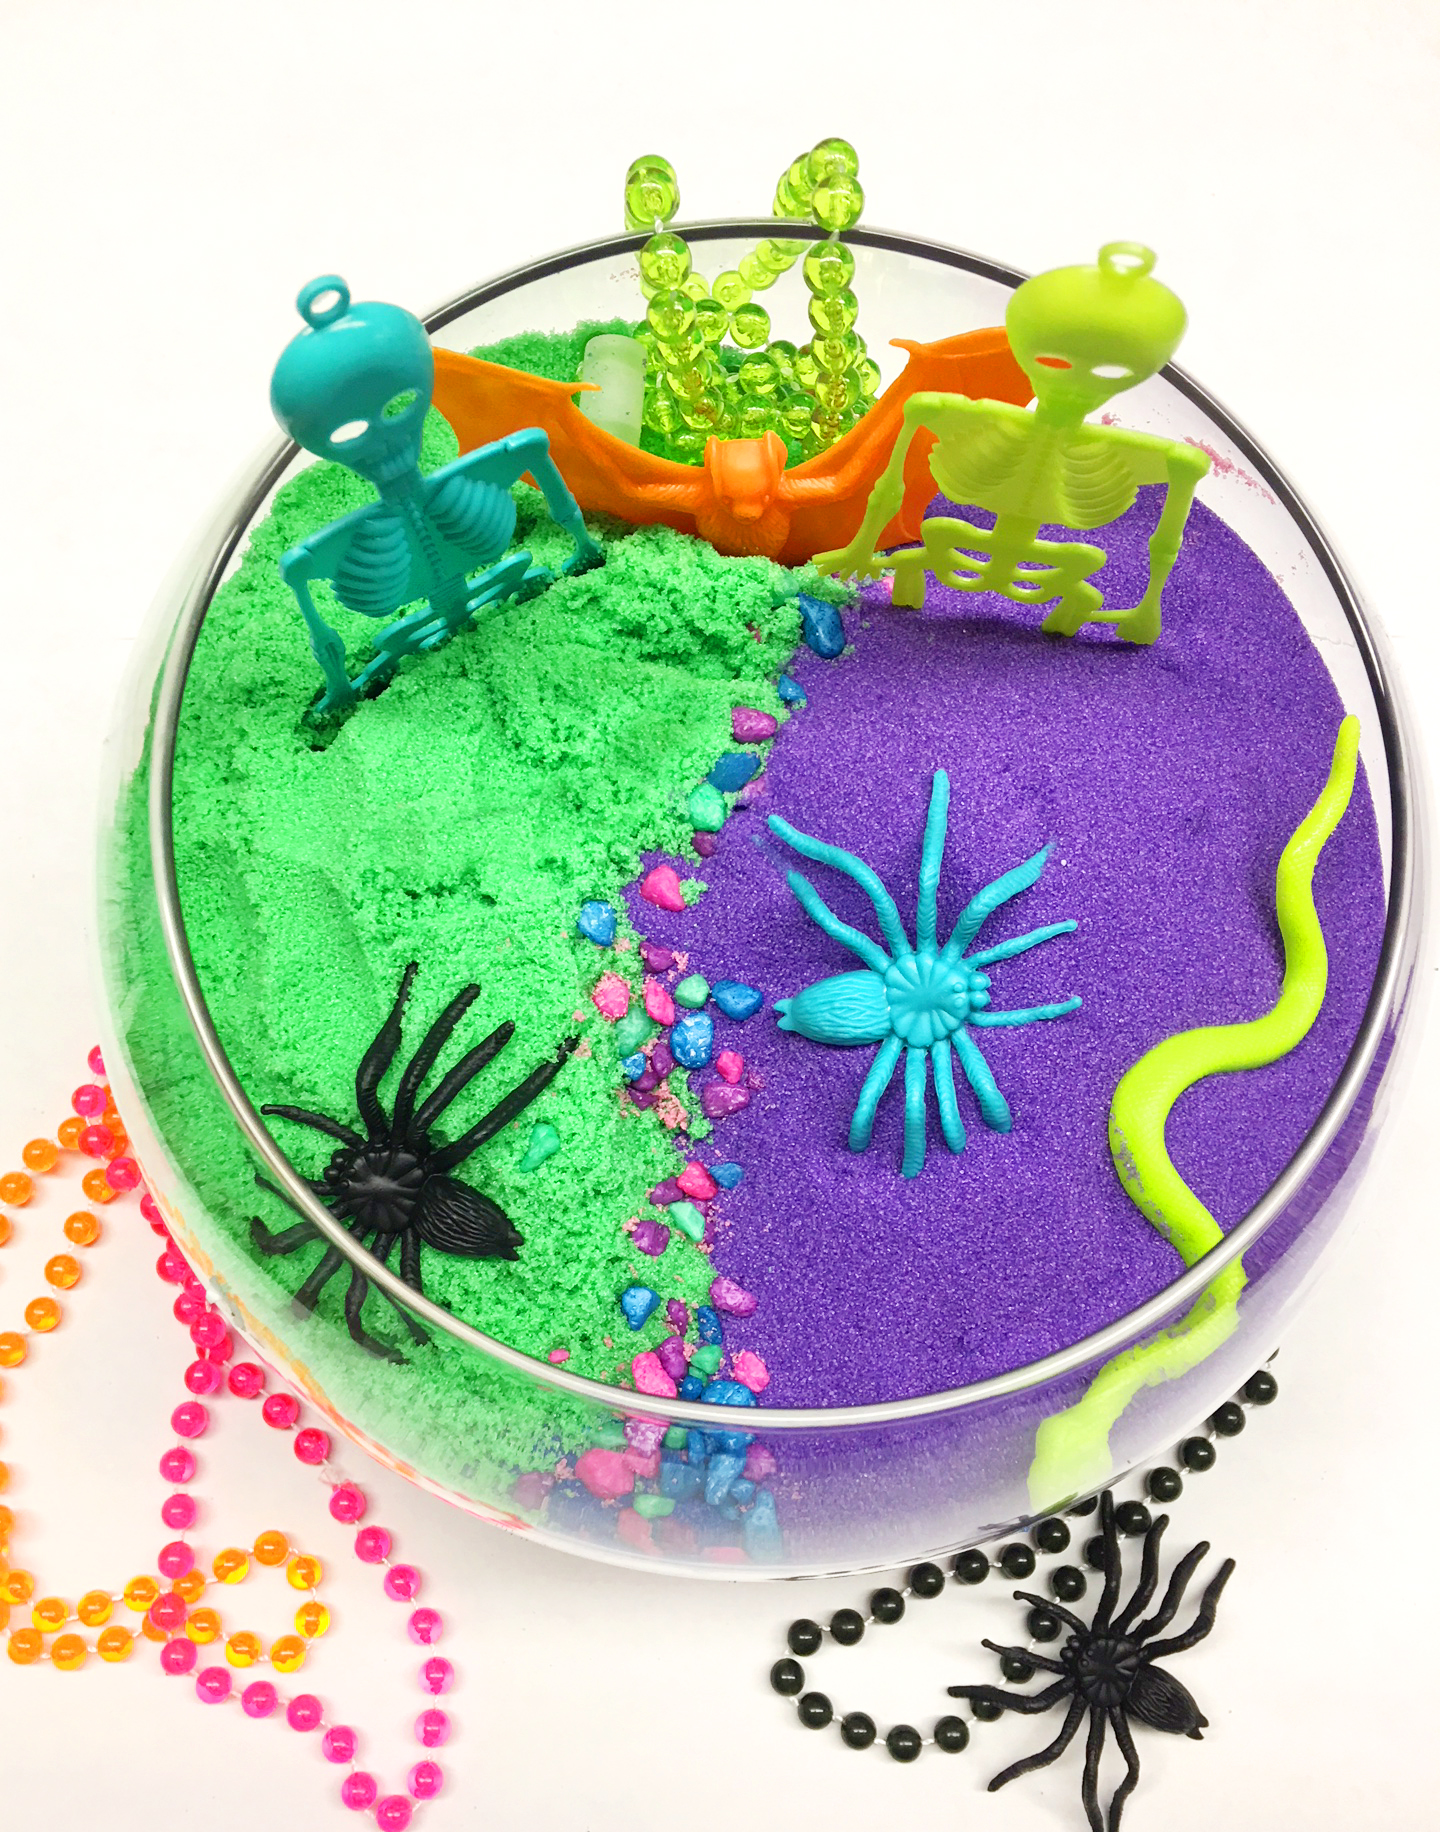
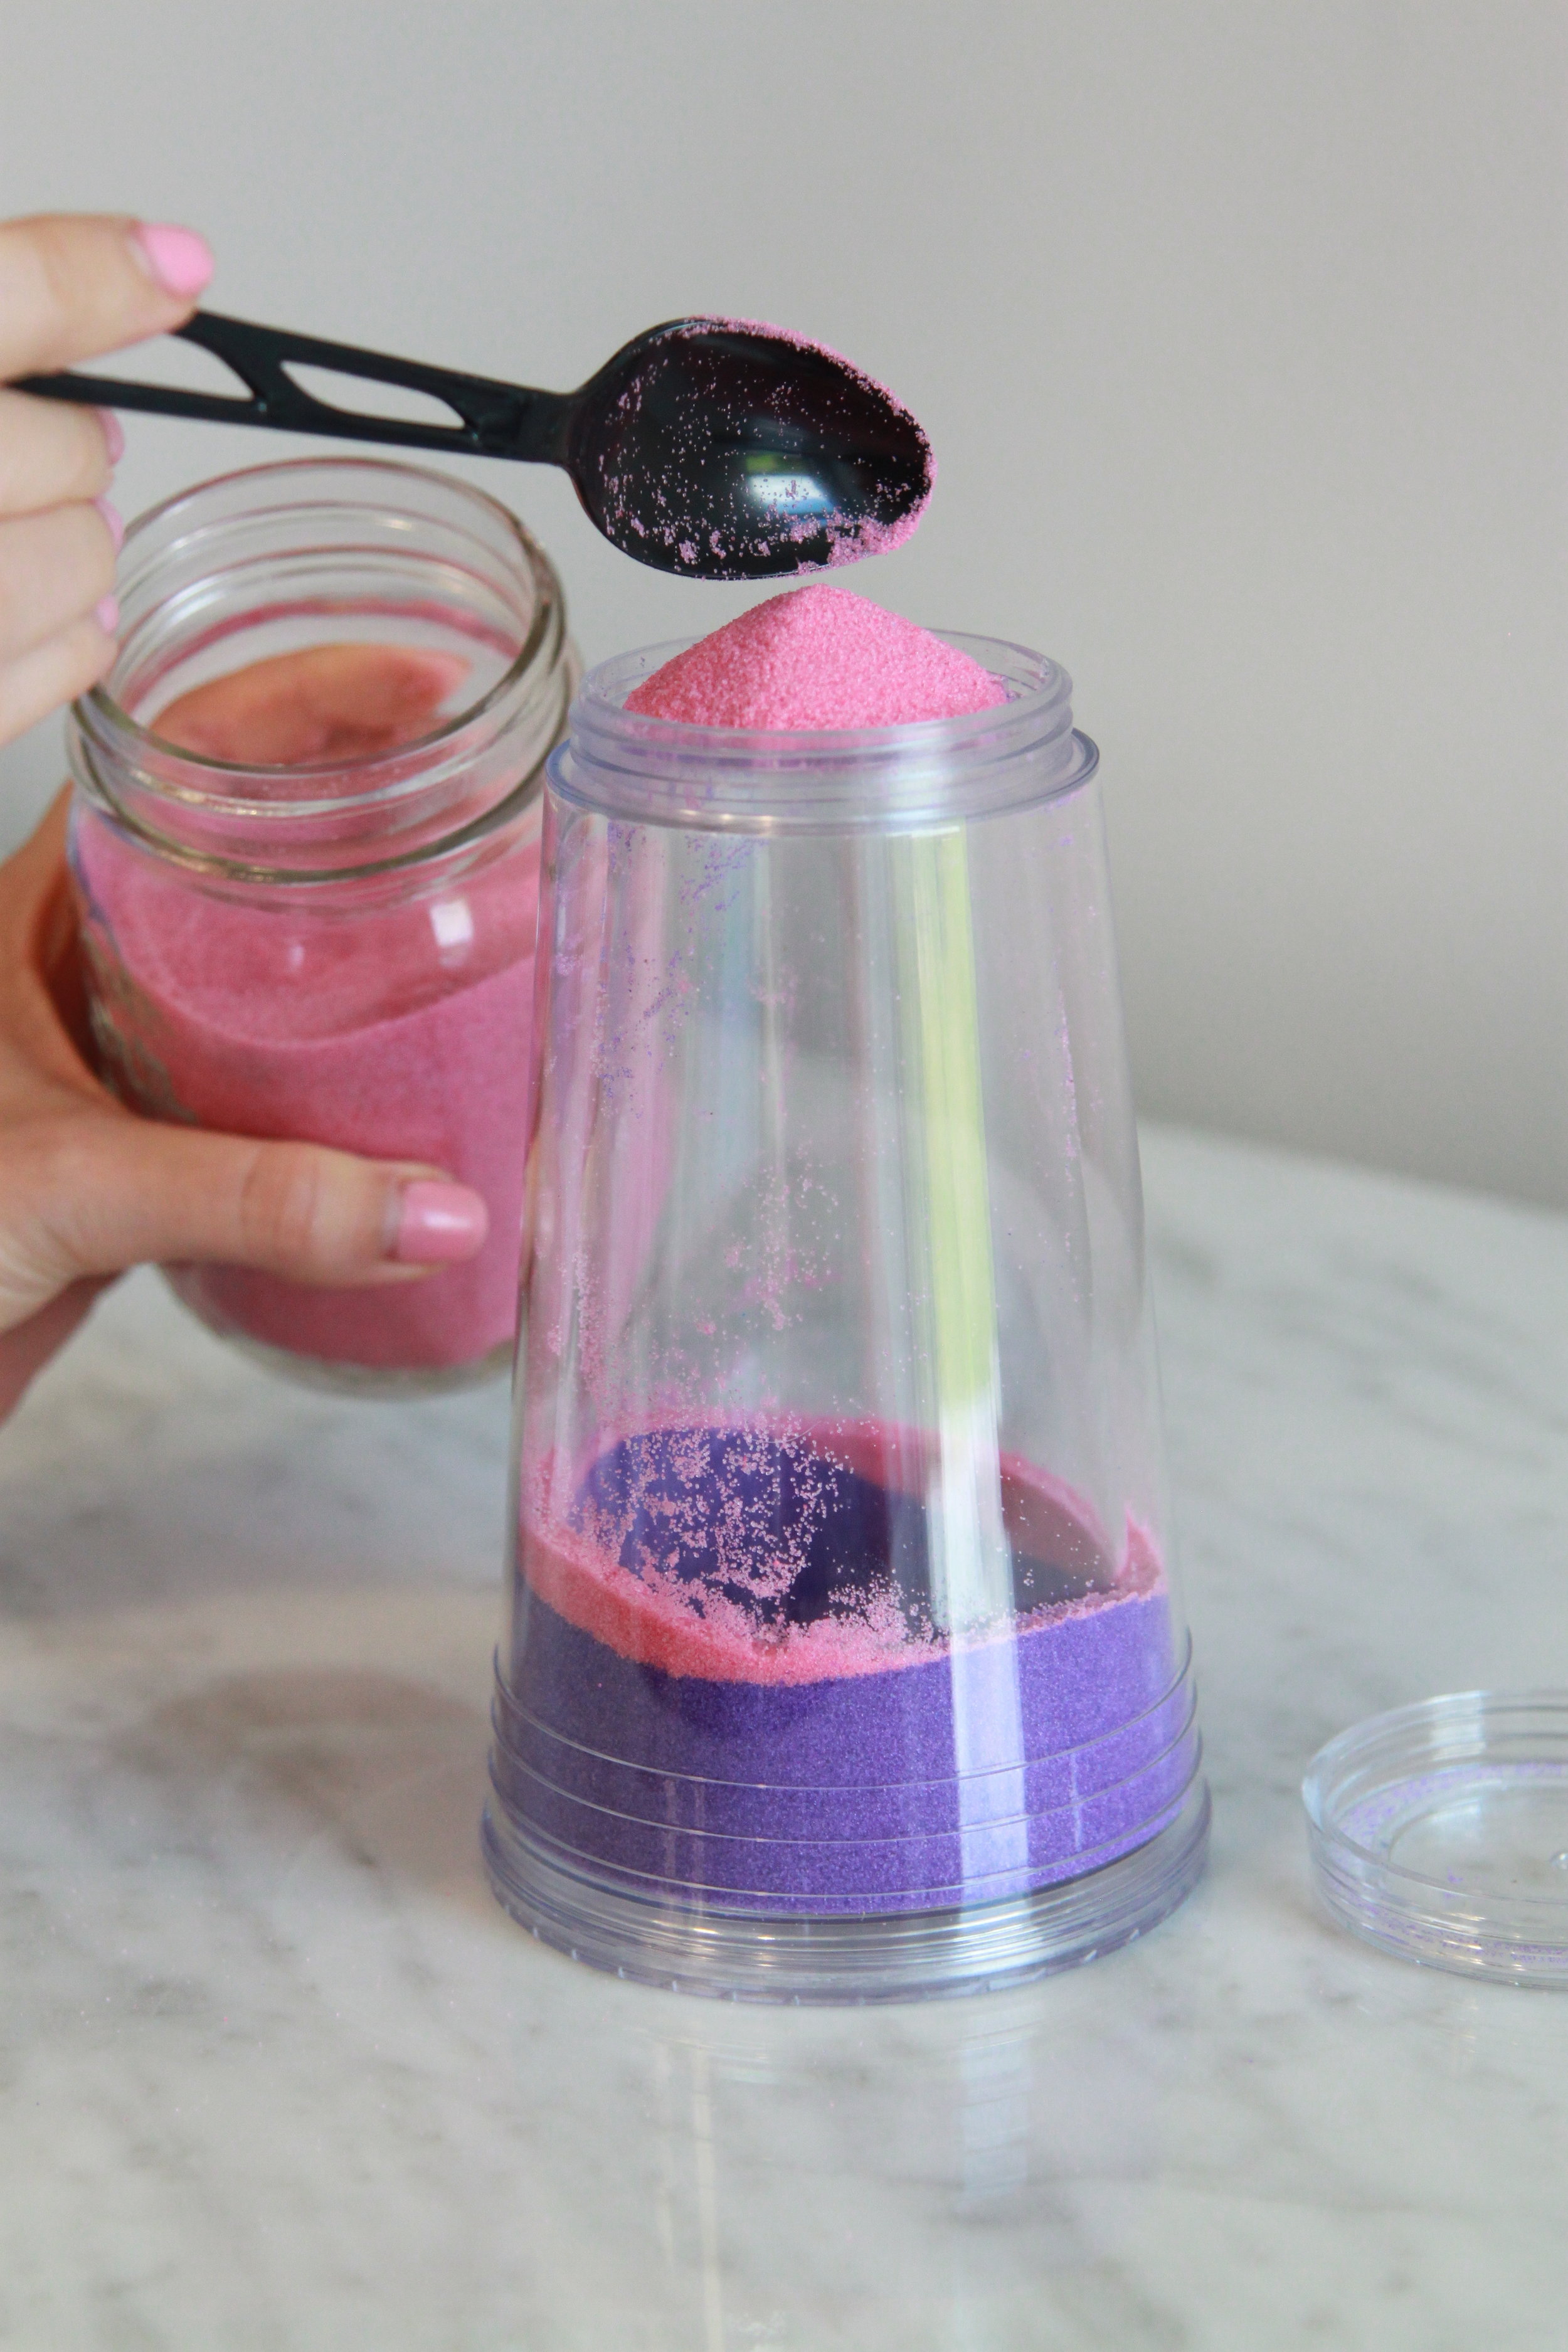
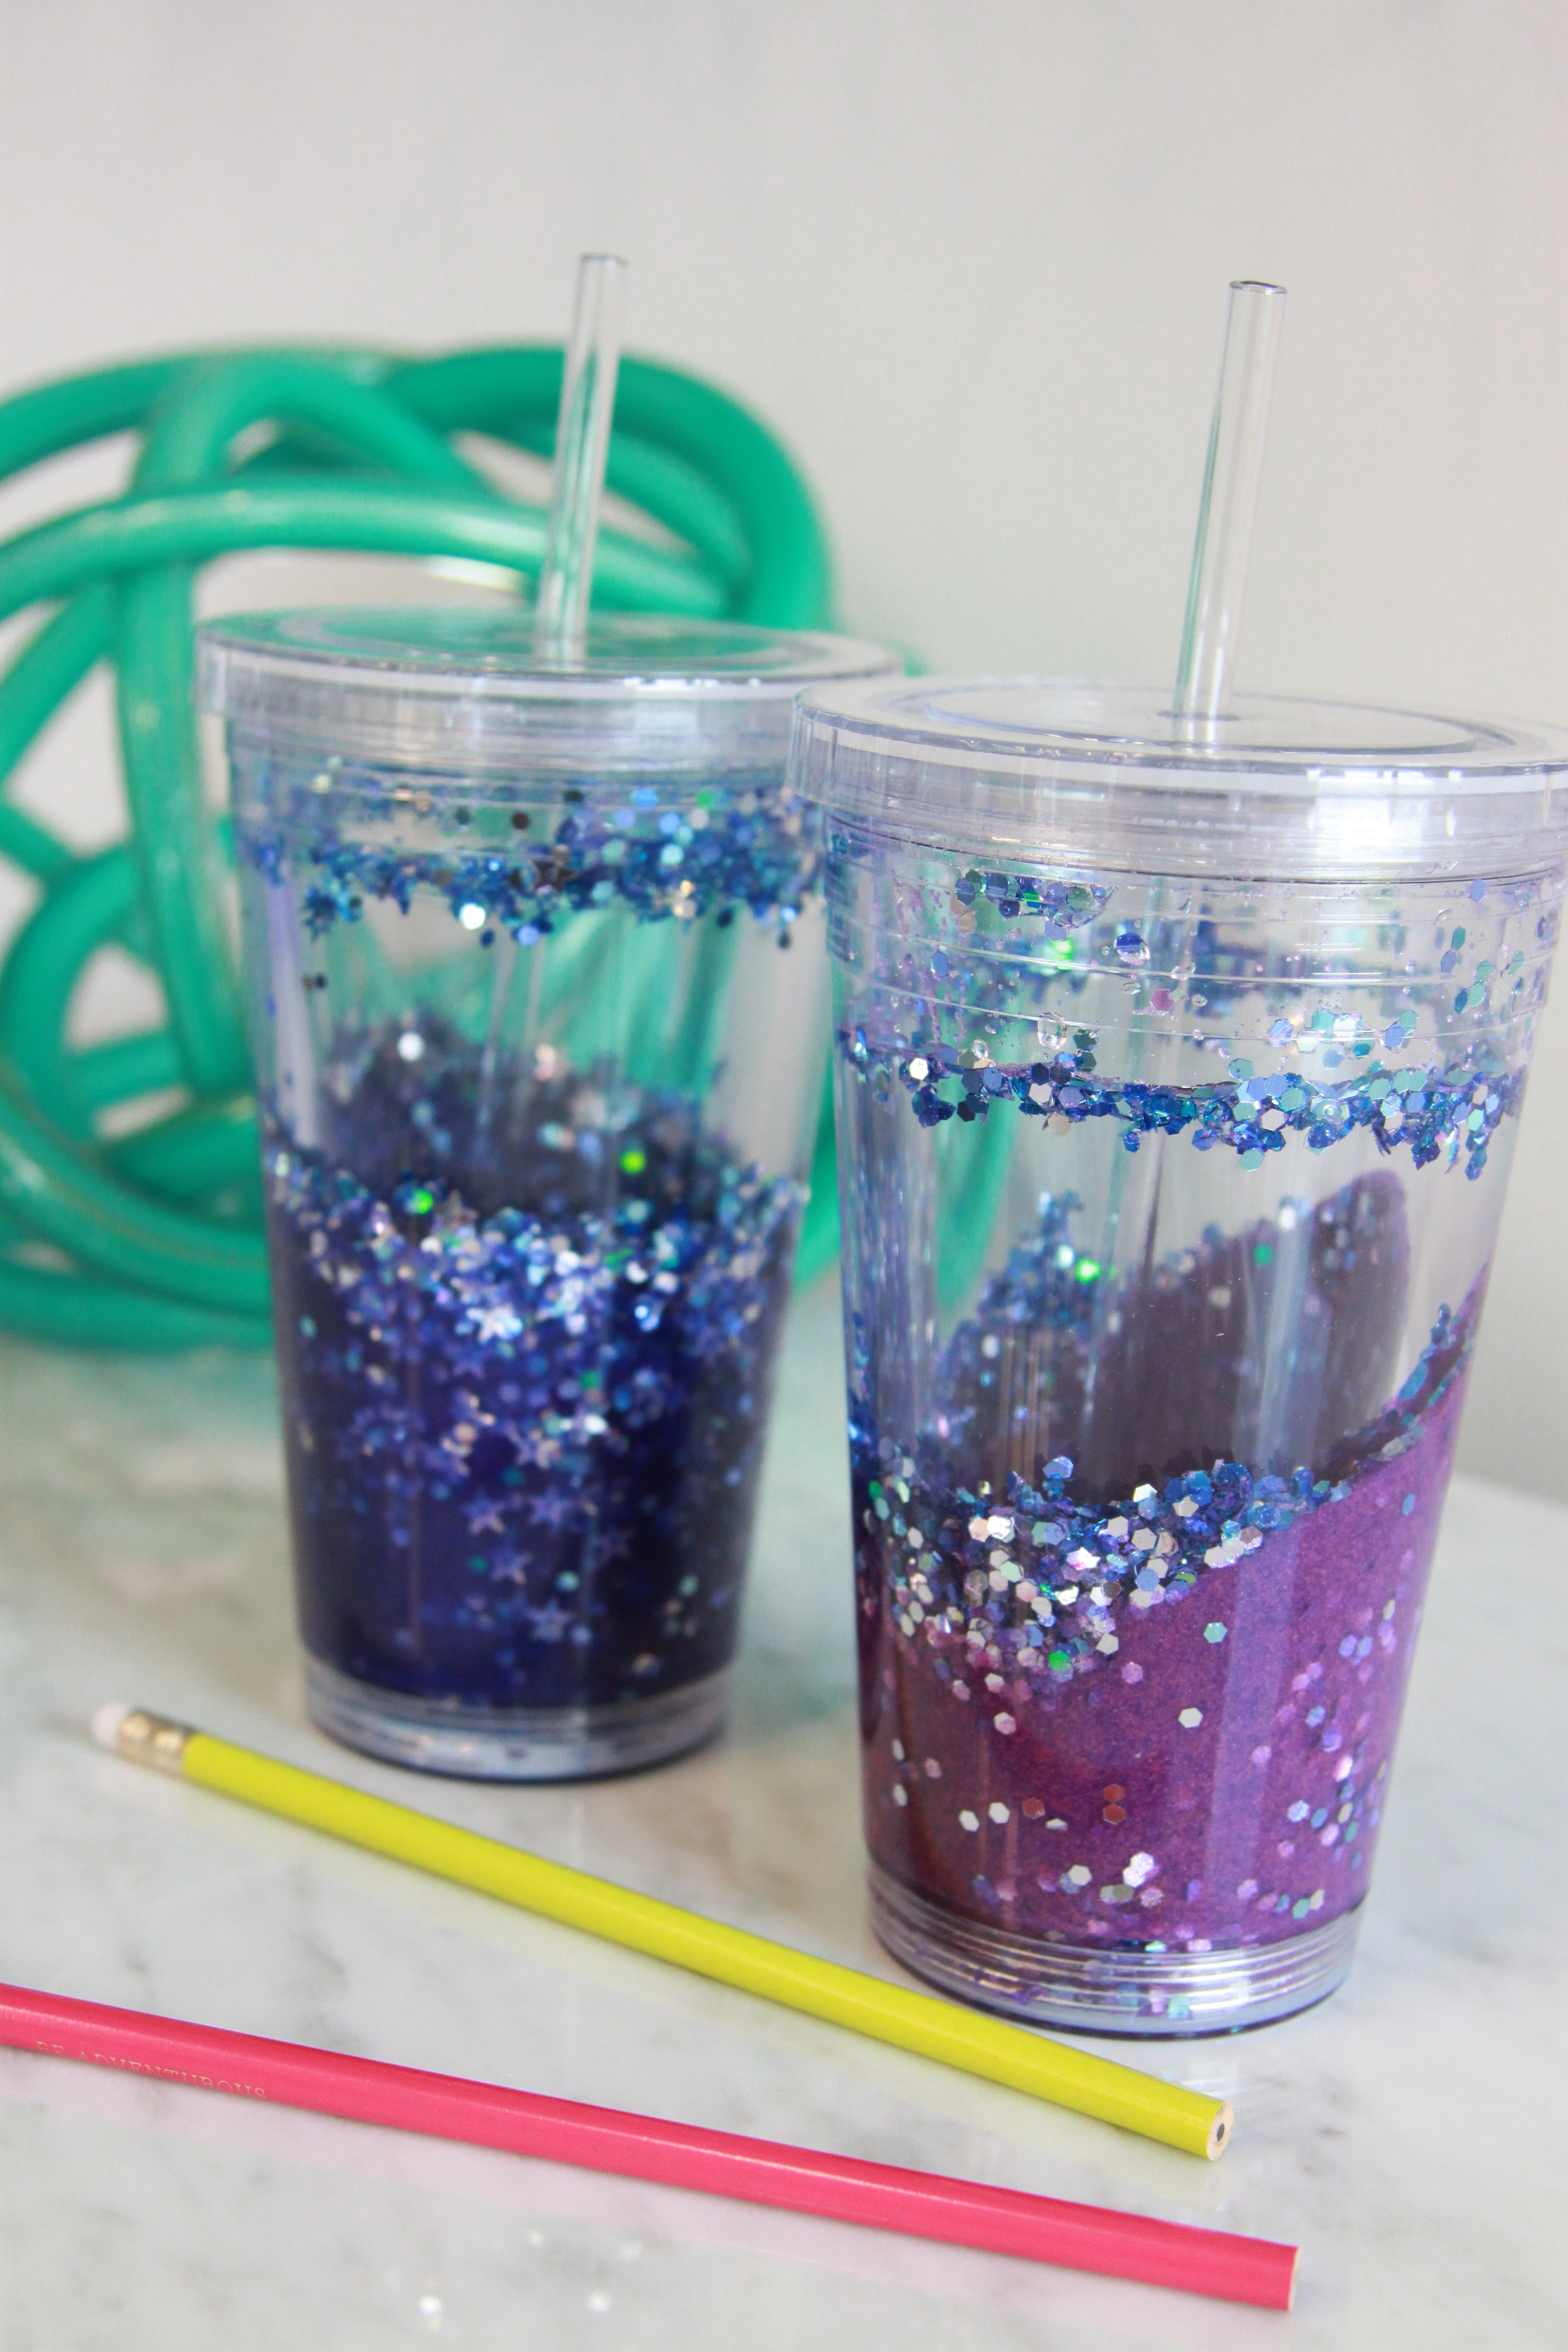
Here are some other festive design ideas:

IMG_1534.JPG
IMG_1529.JPG
IMG_1532.JPG
IMG_1537.JPG
no title IMG_1560.jpg

Happy Holidays from the Crayola Play Sand Lab!!

Make Spooky Halloween Glow Bowls with Crayola Play Sand!

IMG_1245 edit 2.jpg

Halloween is one of the most fun-filled times of the year! Fun costumes, trick-or-treating, parties galore and best of all, spooky decor! Today in the Crayola Play Sand Lab, we have another super easy DIY decor: Halloween Glow Bowls! These are fast and simple to make when you're in a hurry to decorate and even makes for a great Halloween sensory bin for kids that need or enjoy unique interaction.

Keep reading to learn how to make one of your own using colored sand!

IMG_1247.JPG

MATERIALS

Here's what you'll need:

  • 1 Clear glass or acrylic bowl (Found at your local craft store - Any size will do!)

  • 1 bag of Crayola Play Sand- Any color! Pick multiple colors for an even cooler looking bowl! (Click here to find it at a store near you!)

  • Plastic neon Halloween favors (Found at Walmart)

  • Neon Pebbles (Optional, Found at Walmart)

  • Blacklight (Optional, but highly recommended).


INSTRUCTIONS

1. Start by pouring in the Crayola Play Sand cup by cup into the bowl until you reach your desired level. Take your bowl up a level by layering multiple play sand colors... (but be sure to keep the separate by not mixing it).

IMG_9301.JPG

2. Once the sand is in the bowl, start adding the neon pebbles and Halloween decor to your liking. Just plant them right in!

IMG_1252.JPG
IMG_1256.JPG

3. We planted the skeletons and bats it and placed the spiders and snakes on the surface. Finally, we draped the beads all around the bowl. Perfect for a party table centerpiece!

IMG_1229.JPG


5. Optional but Recommended: With the room lights off, use a black light to add an extra glow effect to your bowl. Watch those neon colors and play sand pop once the light is turned on! If a blacklight is hard to find, you can always buy a blacklight light bulb (from Walmart) and screw it into a regular lamp or desk lamp. Works like a charm!

IMG_1242.JPG
IMG_1245 edit last.jpg

And you're all done! Here's to a glowingly spooky Halloween!

Back 2 School! Head back with a Sparkly Tumbler filled with Crayola Play Sand!

Yes, yes, we know! The time has come already! It's already time to go back to school! Seems like the Summer break just started right?! Send your kiddos back to school in style with their very own custom sparkly tumbler made with Crayola Play Sand! Your kids will love staying hydrated with their colorful tumbler filled with sparkling glitter. The glitter floats around even more when shaken. This adds an amazing effect for kids that need a little sensory interaction while sitting at their desks for long periods of time.

Keep reading to learn how to make one of your own using colored sand!

MATERIALS

Here's what you'll need:

  • 1 Clear acrylic tumbler with a removable bottom (Found at your local craft store, or

  • 1 bag of Crayola Play Sand- Any color! (Click here to find it at a store near you!)

  • E6000 Craft adhesive glue

  • Colored glitter of your choice (The bigger, the better!)

  • 1 cup (for pouring)

  • 1 spoon

  • 1 pair of scissors

  • 1 cotton swab

  • 4-8 oz. of clean water

  • Optional: plastic school related inserts (found in scrapbooking at the craft store).


INSTRUCTIONS

1. Start by unscrewing the bottom of the tumbler until it comes completely off. Next, Spoon in your favorite color(s) of Crayola Play Sand

2. Once the sand is filled up 1/2 to 2/3rds of the  way, add glitter to your liking for a little extra sparkle! Next, add water to fill up the remaining space until theres only 1-1.5 inches of unfilled space left in the tumbler.

3. Next, its time to glue the bottom lid back down. Grab your E6000 glue, and with a cotton swab, smear a safe amount of glue along the entire inner rim of the tumbler lid. For added sealing, you can also add some glue around the bottom rim of the tumbler as well. Next, quickly screw the lid back on. Make sure it is screwed as tightly and evenly as possible to avoid any chances of water leaking. Allow to dry over night before using.

4. Shake! Shake! Shake! Enjoy watching the sand and glitter mix and float all around. Your kid is going to love it!


5. Optional: DRY version of this tumbler using plastic school-related inserts (found in the scrapbooking section of your craft store). This looks looks pretty messy, but some kids enjoy shaking the tumbler to reveal the pencils and journals buried in the sand! (We do not recommend adding water or liquids if you go this route).

And you're all done! Here's to a bright and colorful school year for the kids in your life!